Choosing Lenses to Match the Film Look
-
Modern Vs Vintage Designs: Vintage film lenses made intentional trade-offs that created character (soft edges, vignetting, creamy bokeh). Modern lenses optimize for clinical perfection. The difference is design philosophy, not technology.
Performance vs Character: You can find modern glass that prioritizes rendering intention over technical perfection. These lenses give you that film-like feeling without post-production tricks.
Focal Length and Compression: Matching focal length isn't just about field of view—it's about how the lens compresses space and isolates your subject. A wider lens on full-frame can create similar compression to a medium format lens if you choose the right focal length.
Depth of Field vs Aperture: Film medium format at f/2.8 creates specific subject isolation that requires roughly f/1.2 to f/1.4 on full-frame to replicate. You need faster apertures on digital to match the depth of field character from film.
Aspect Ratio and Field of View: Film formats have different proportions than full-frame (645 is 1.33:1, full-frame is 1.5:1). Account for this when matching lenses—you might go a bit wider or tighter than crop math alone suggests to recreate that framing feeling.
How to Match Your Film Look on Digital
Film Is Always a Vibe
Your digital images are technically excellent. Sharp, well exposed, color accurate. But something's missing. In your film work, the image felt deep, bokeh had character, the color palette felt intentional, edges rendered softly even at distance. The photos didn't just document what was in front of the camera, they interpreted it.
You can build that on digital
This isn't about finding a filter or a preset that mimics film. It's about understanding what actually created that look in the first place, then building those same qualities into your digital workflow. Lenses matter. How you think about color matters.
Here's what we're going to cover: the specific things that make film photography look the way it does, how to replicate each one on digital, and exactly which lenses get you there. By the end, you'll have a clear path forward: an understanding of the gear you need, and the framework to keep evolving your visual voice as your work develops.
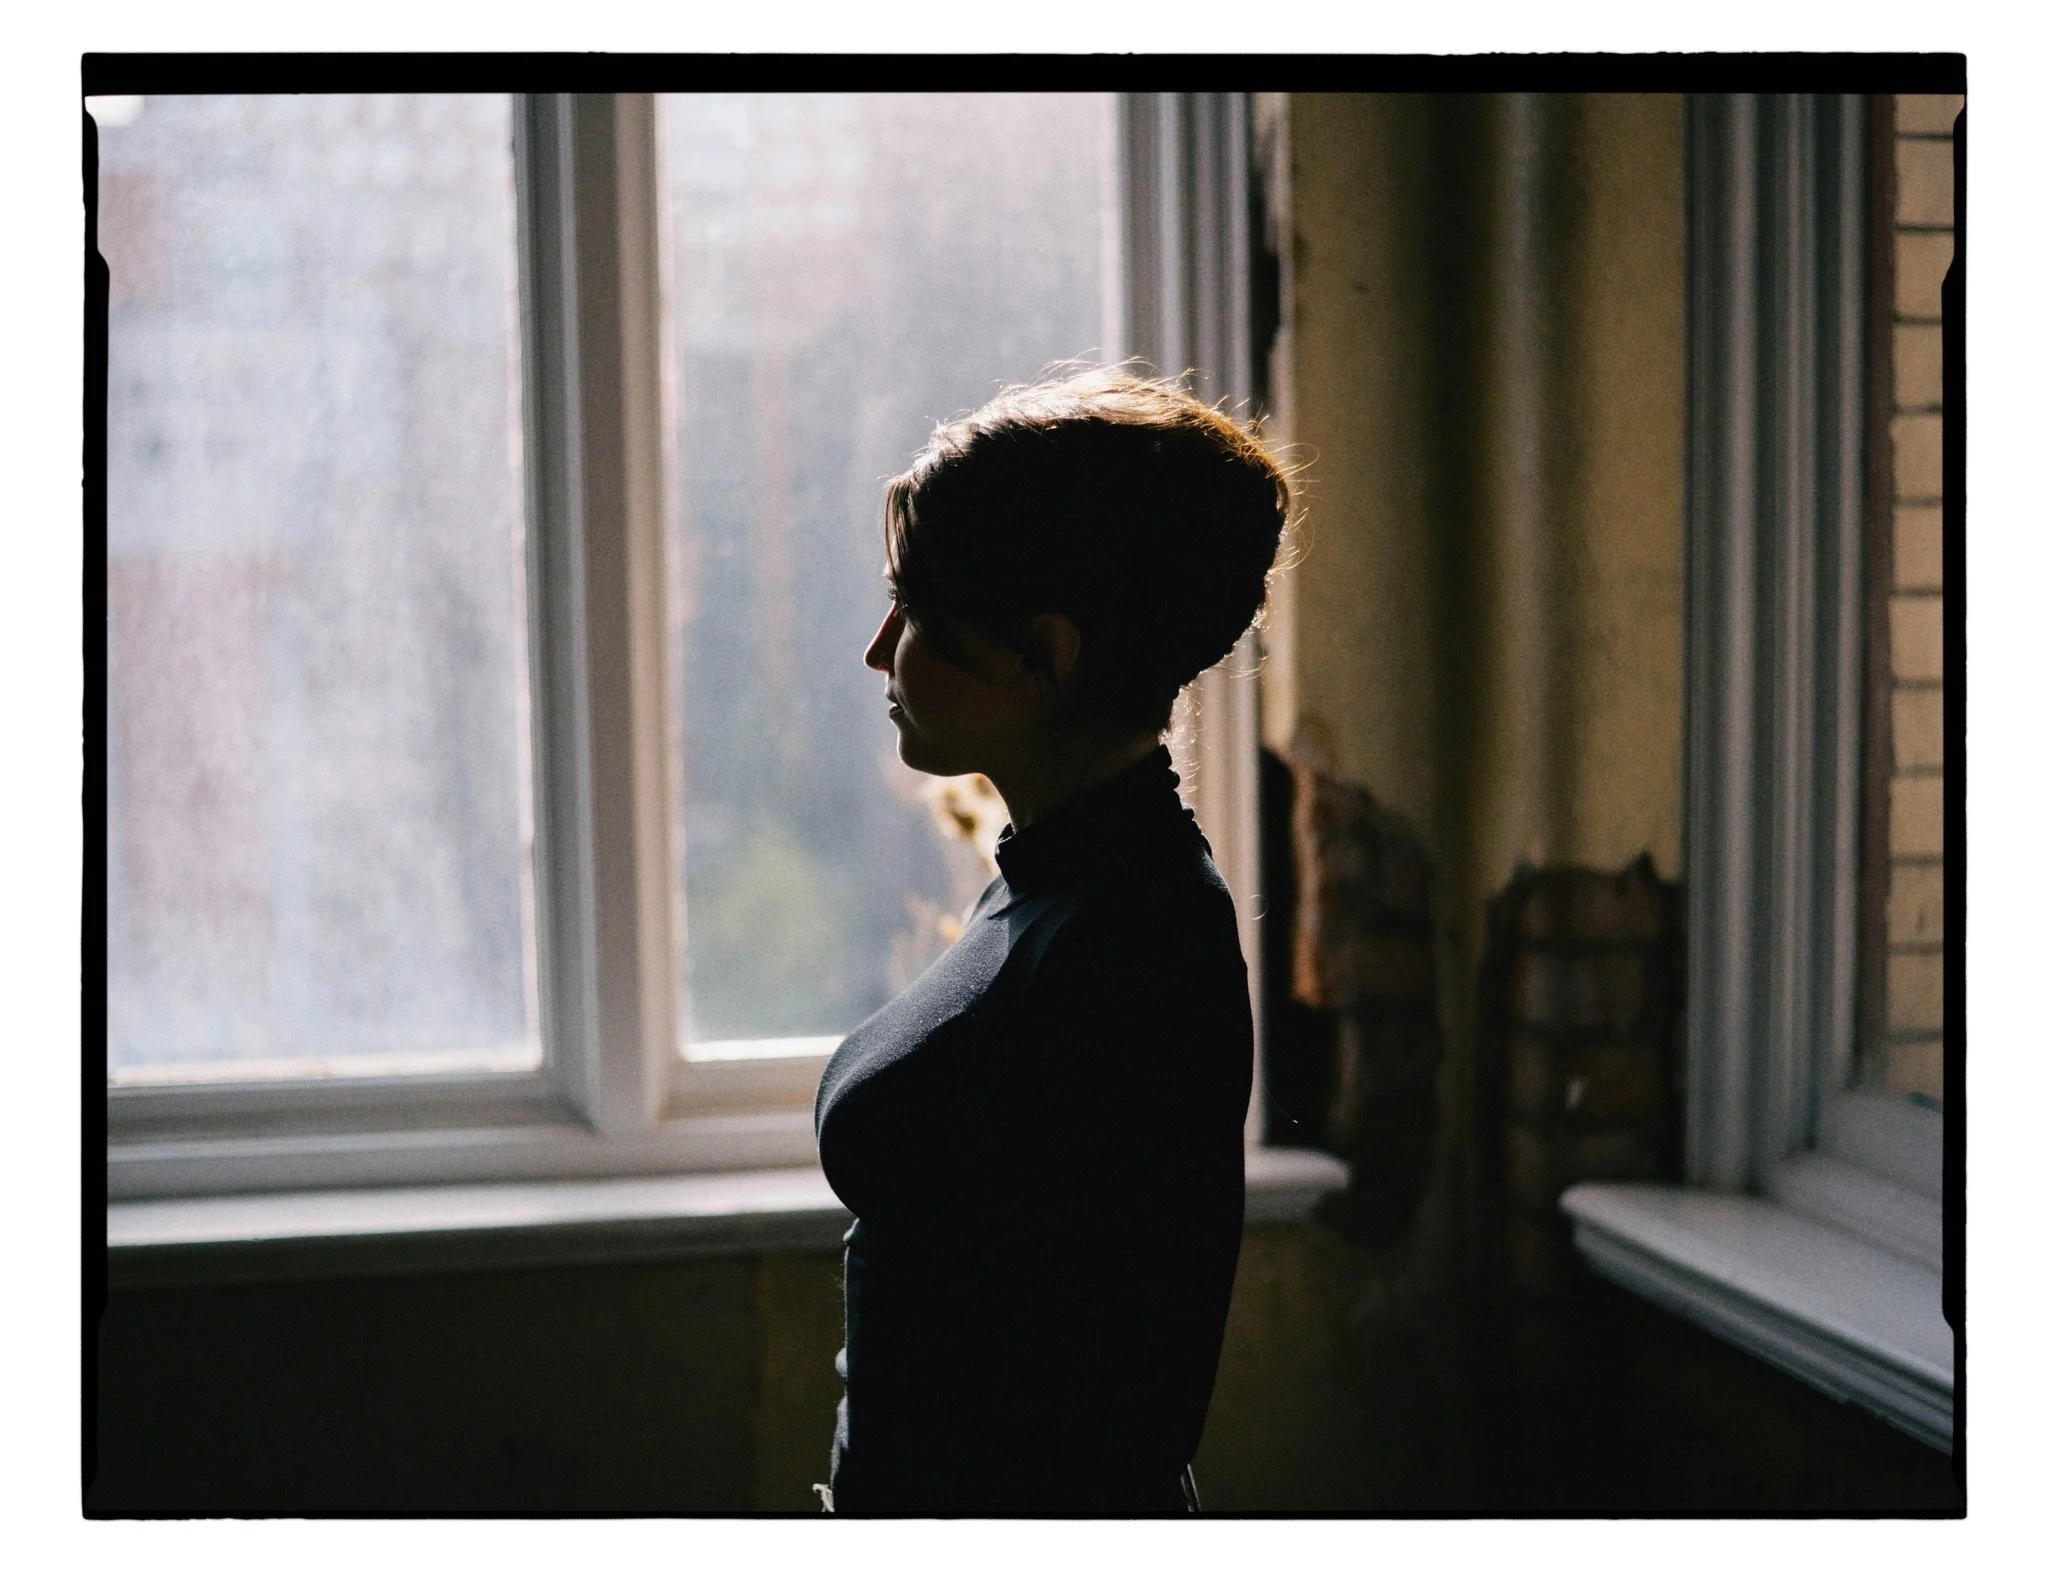
Bec Morris Design in Manchester - Nikon 50mm 1.8g on the Nikon Zr by Tom Wright
How Do I Get My Film Look?
The Magic of Lenses: Rendering and Optical Character
What You Actually See in Your Film Lenses
Your Zeiss 80mm on the Hasselblad rendered in a specific way. The edges weren't razor-sharp at wide apertures. They were slightly softer. The background compressed beautifully. There was natural darkening around the frame edges (vignetting). The bokeh had texture to it: not the smooth, uniform blur you get from modern lenses, but something with more character and dimension. These weren't flaws or accidents. They were the result of thoughtful mechanical design.
Modern digital lenses are built differently. They're optimized to be sharp corner-to-corner, to have digitally corrected vignetting, to render bokeh that's smooth and mathematically neutral. This is technically brilliant. It's also visually flat. The absence of that textured character is actually what makes them feel clinical rather than intentional.
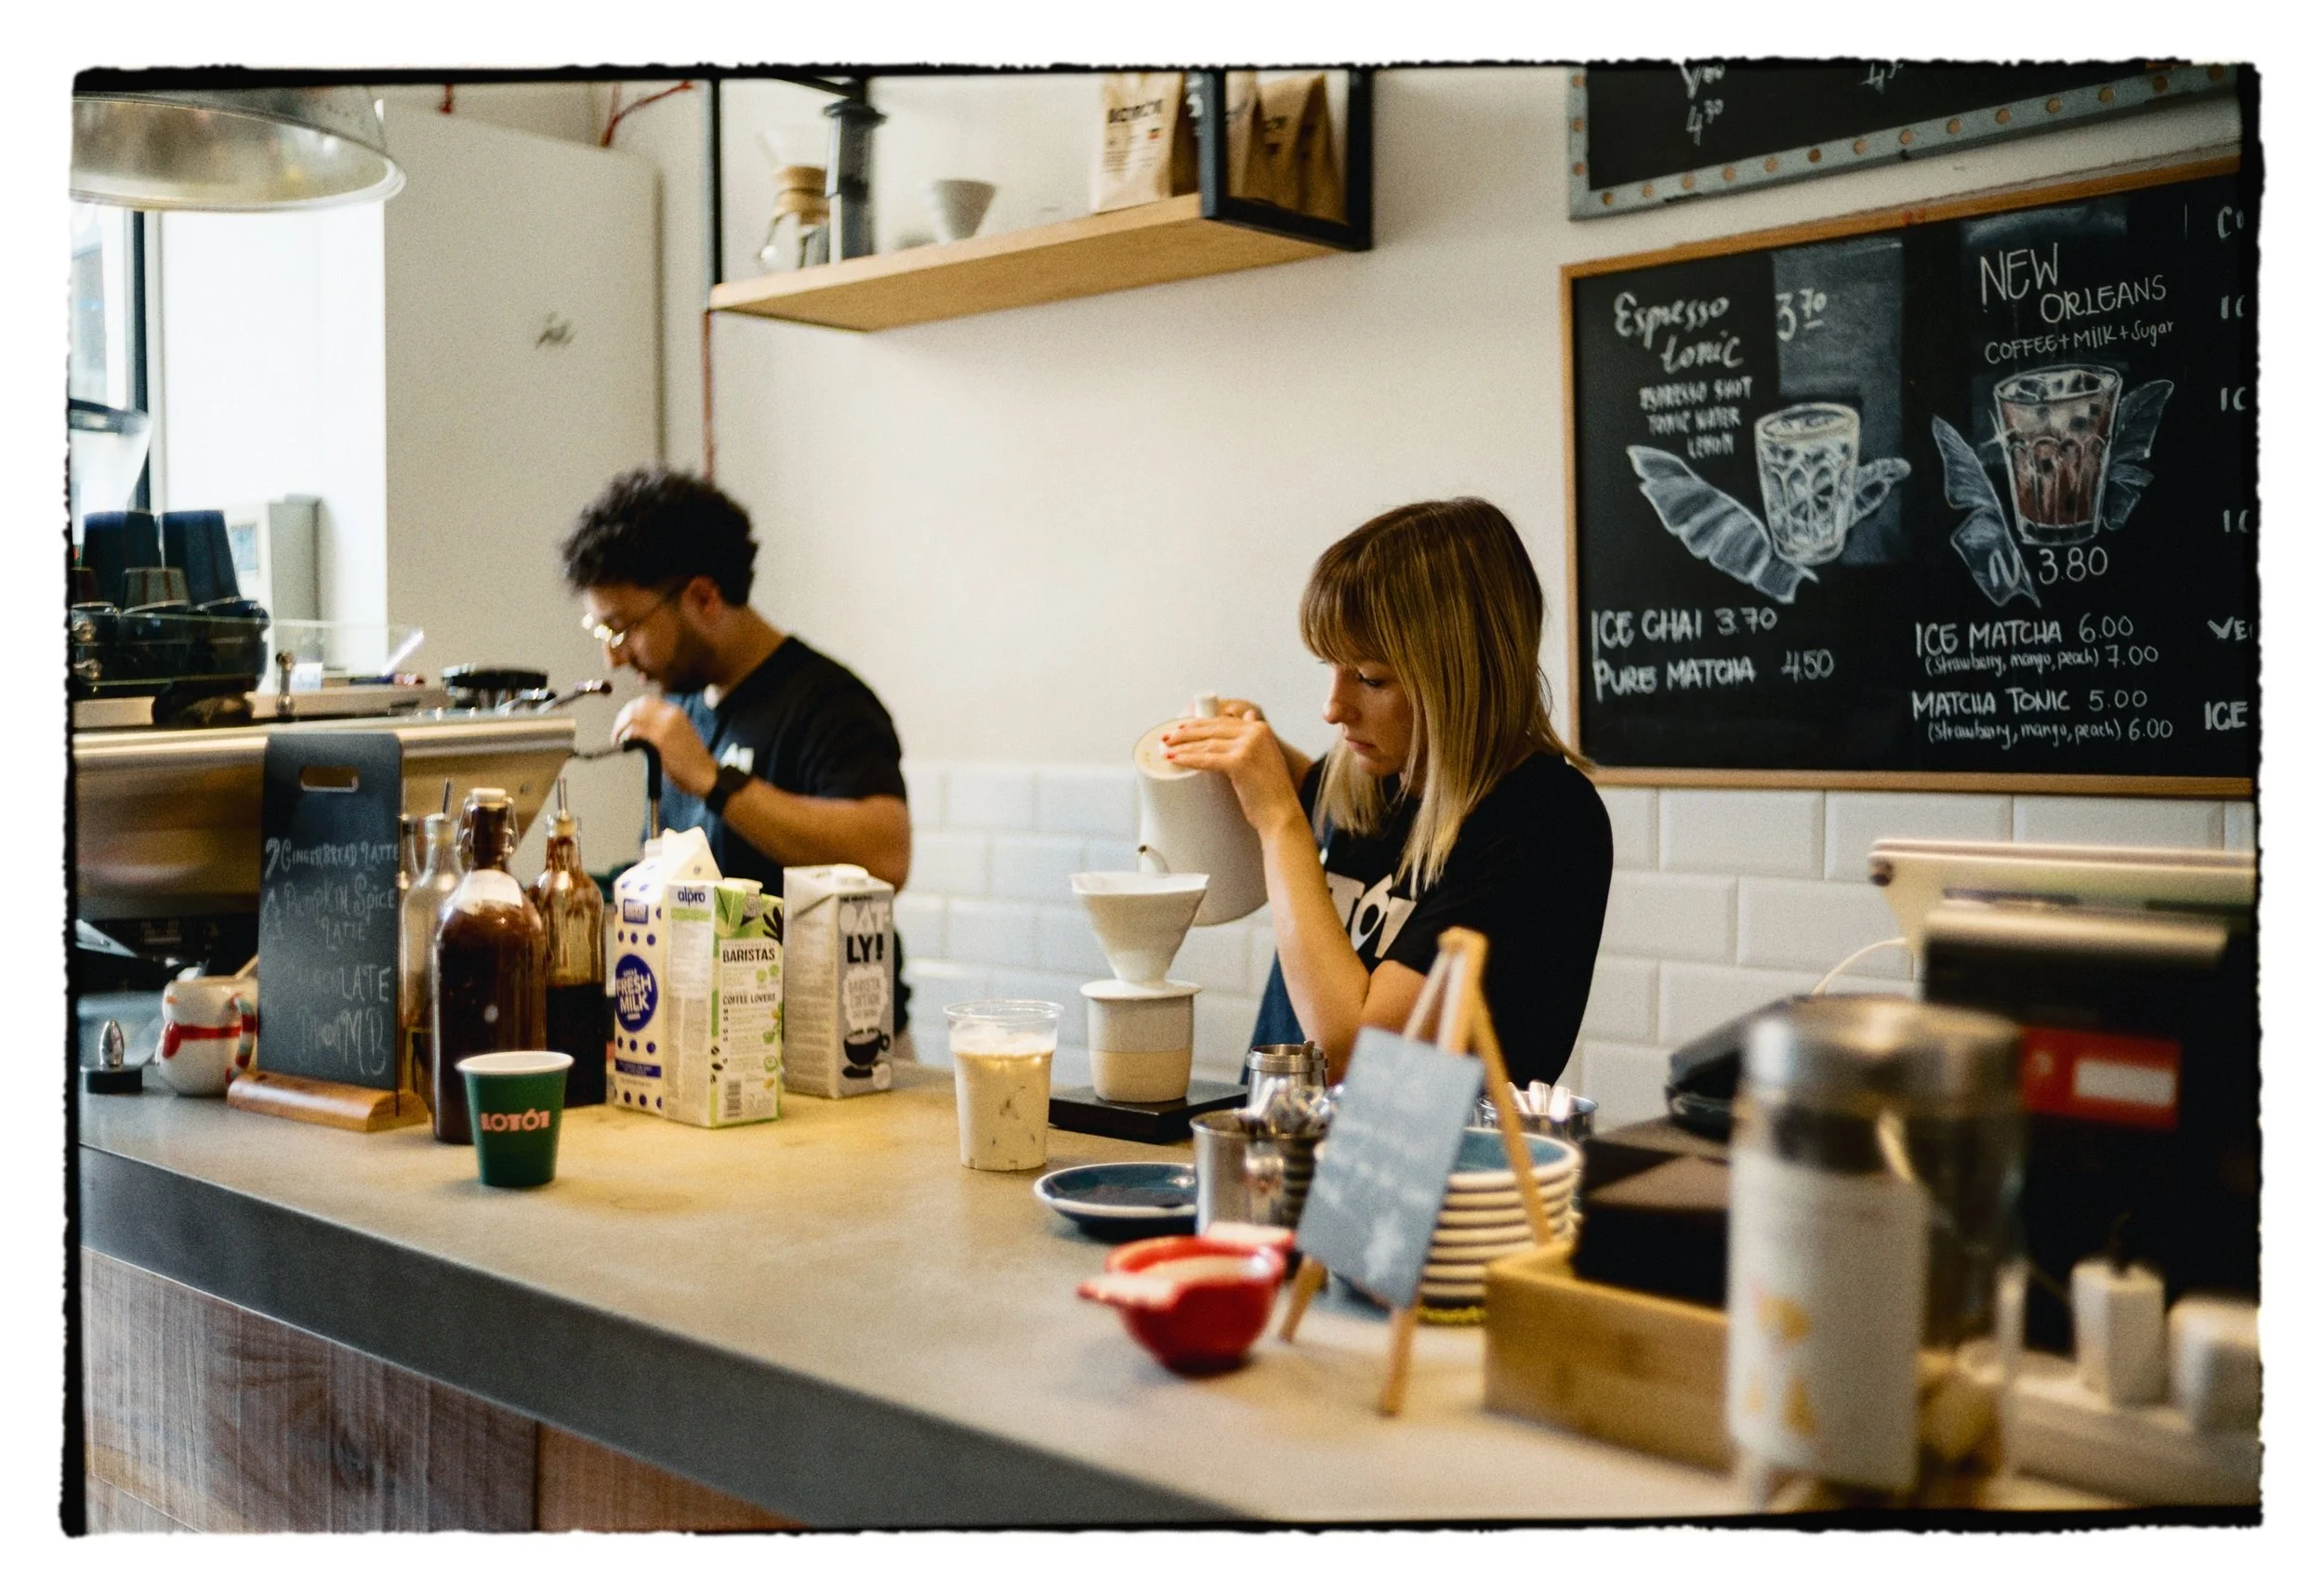
Lot61 Valletta Malta - Voigtlander 35mm 1.4 on the Nikon ZF by Tom Wright
Why This Happens: Two Different Design Approaches
Zeiss and other vintage lens designers were absolutely trying to create beautiful glass. They just did it differently. They used mechanical precision, hand-ground elements, and analog optimization. They made trade-offs: accepting gentle vignetting or textured bokeh because those characteristics served the overall image. Without digital corrections and CAD tools to flatten everything, they had to design lenses that performed through their inherent optical qualities, not through software correction.
Modern lens design uses digital corrections, CAD optimization, and computational methods to eliminate those trade-offs entirely. The result is clinical perfection: zero vignetting, smooth bokeh, uniform sharpness. This approach can produce excellent lenses. But it produces a consistent, predictable rendering that lacks the character of mechanically-optimized glass.
Here's what matters for you: you can find modern glass designed with intention. Some manufacturers preserve vignetting instead of correcting it away. Some design for textured, dimensional bokeh rather than smooth blur. Some deliberately allow edge softness instead of forcing corner sharpness. You're looking for those intentional choices. These are the ones that acknowledge that perfection and character aren't always the same thing.
What This Means for You: How to Recognize a Characterful Lens
When you're evaluating a digital lens, look for three things:
Does it vignette naturally at wide apertures instead of eliminating it? (Natural darkening around edges = visual intention.)
Does the bokeh have texture or dimension rather than appearing as a smooth, uniform blur? (Textured bokeh, which comes from how light refracts through the lens elements, creates the dimensional quality you felt in your film work.)
Do the edges render slightly softer at f/1.2 or f/1.4 instead of being clinically sharp? (That softness is an optical characteristic, and it's part of the aesthetic.)
These qualities won't be listed in specs. You'll see them in real-world photos from the lens. That's where you evaluate whether it has the rendering you're after.
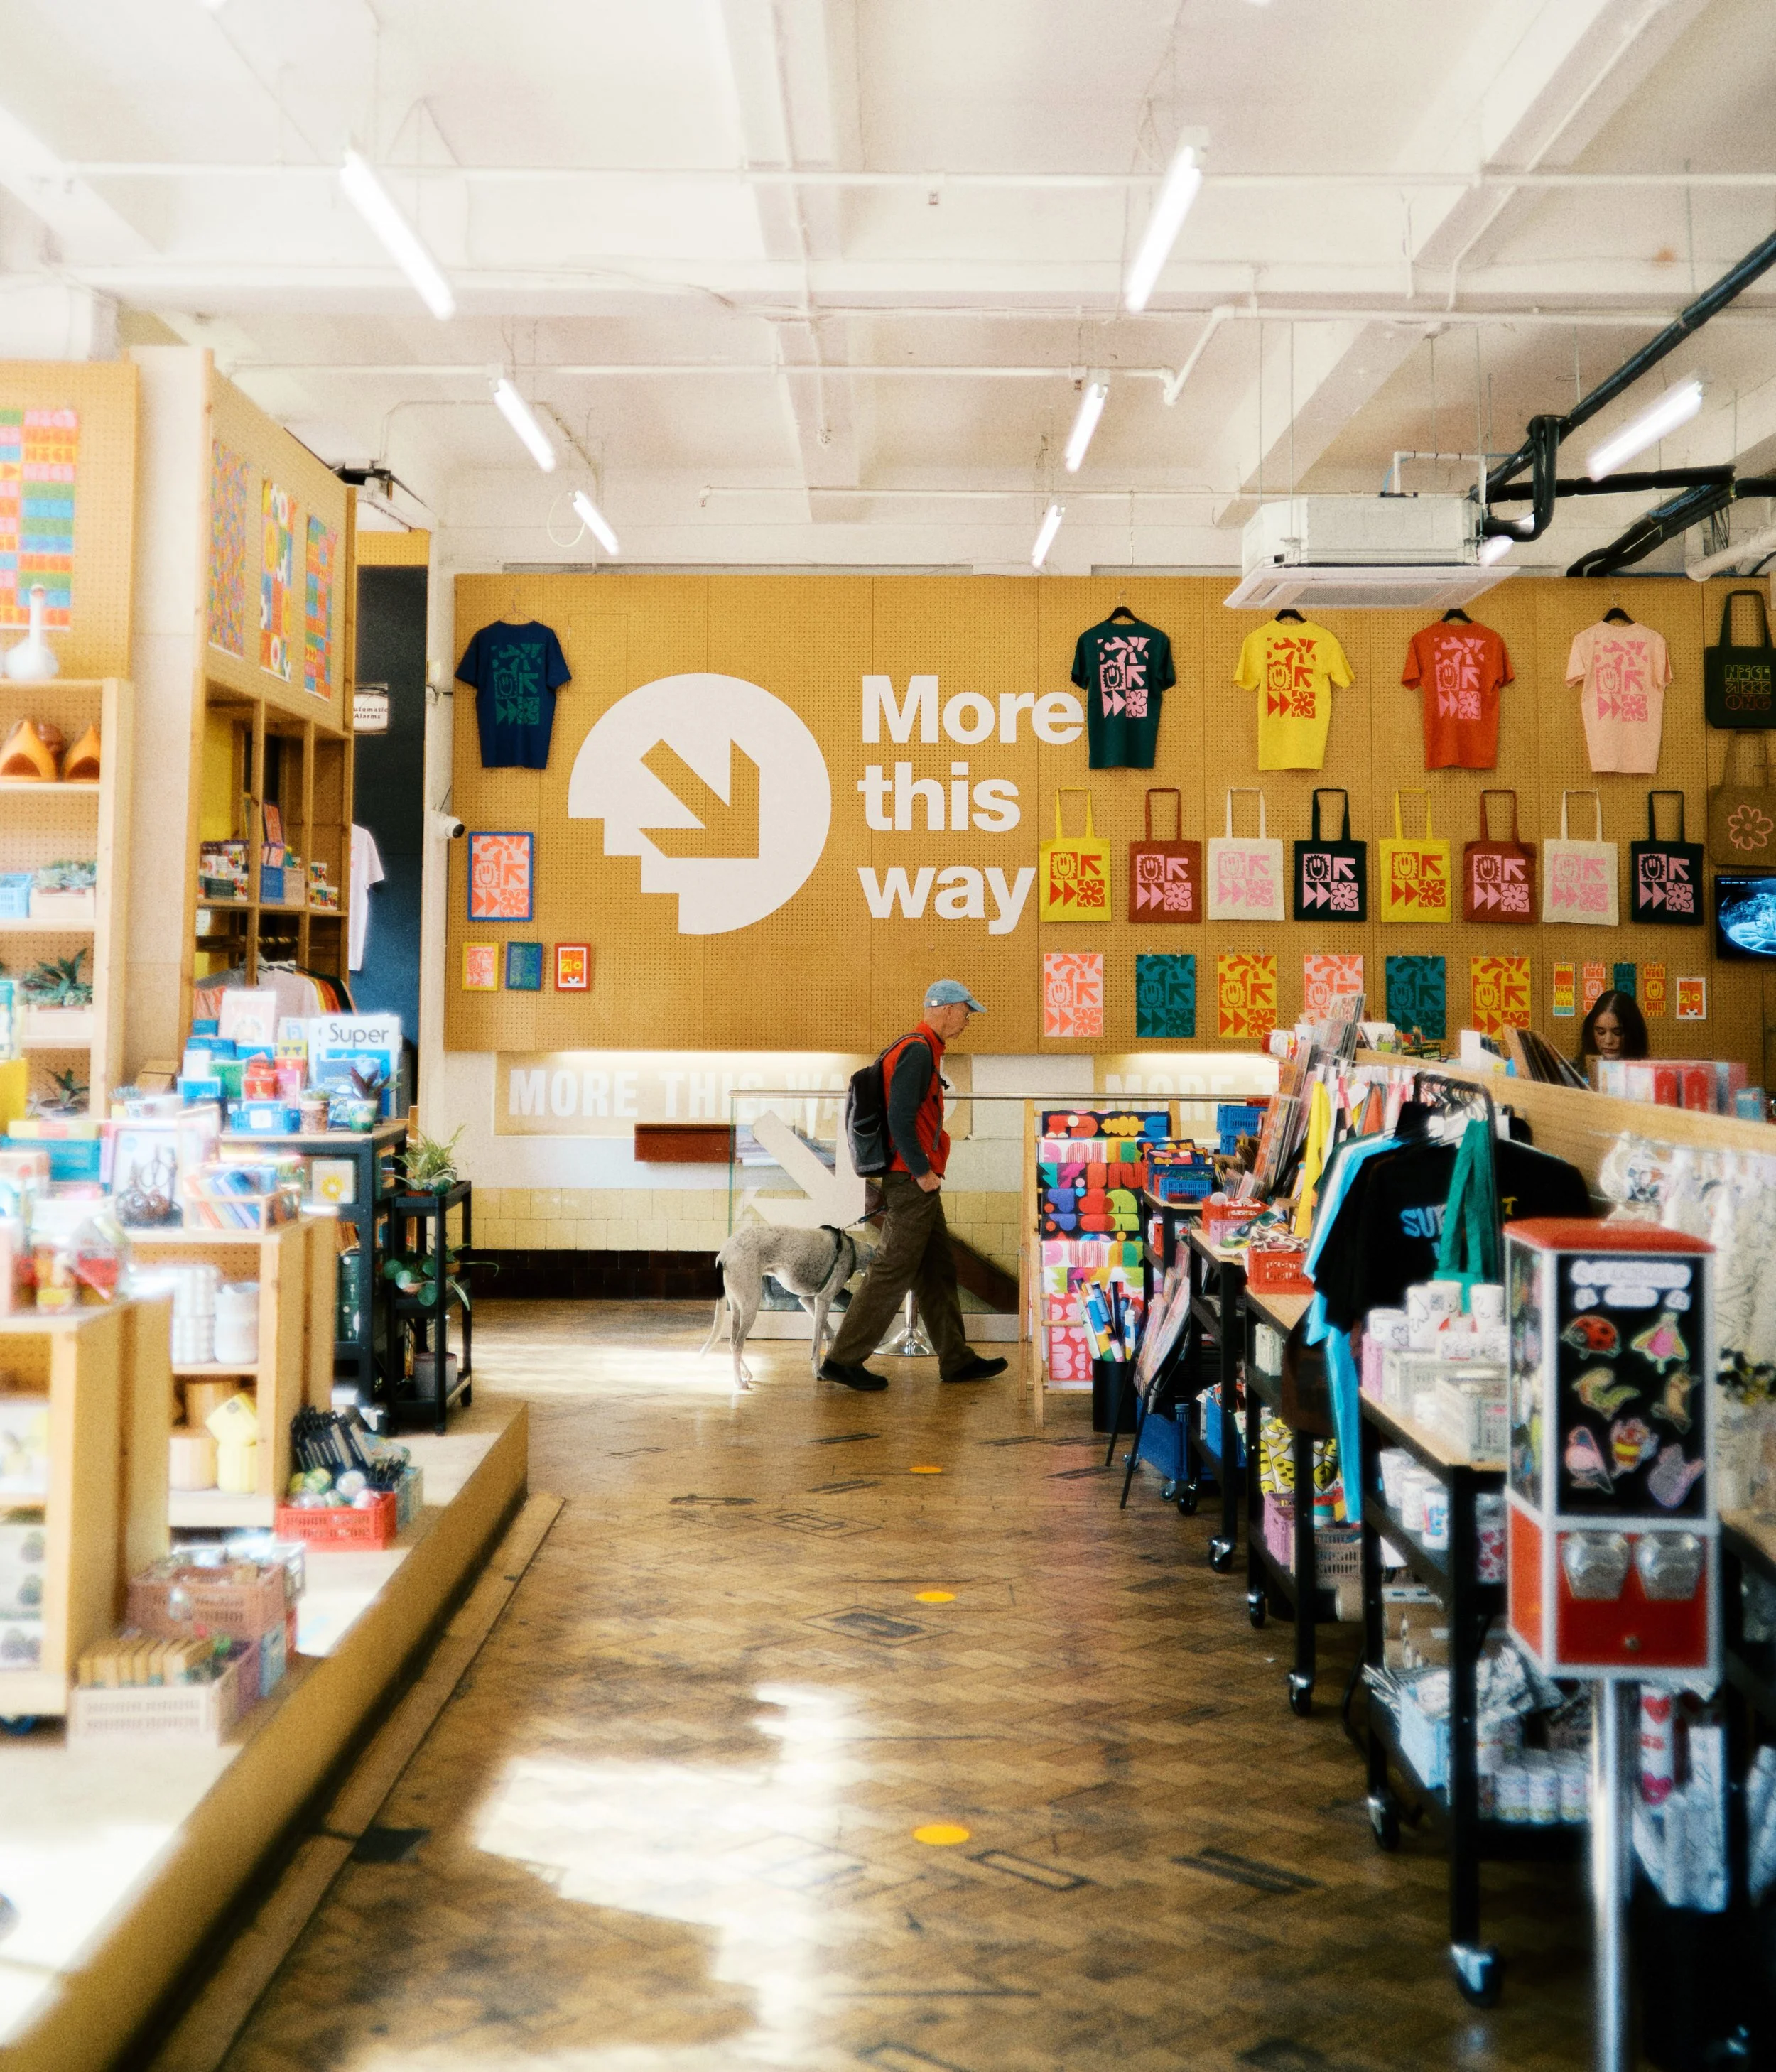
Fred Aldous Manchester - Zeiss 35mm F2.0 Biogon ZM on Nikon Zf by Tom Wright
Matching the Feel: Focal Length and Framing
When you shot an 80mm lens on a Hasselblad 500 or Contax 645, that focal length created a specific view. The background sat at a particular distance from your subject. The separation felt a certain way. The perspective had a specific character.
On digital, you can recreate that framing, but it's not a direct number swap. An 80mm on 6x6 medium format doesn't translate to an 80mm on 645 or full-frame. The film or sensor size changes the math. What matters is matching the framing characteristic you felt, not the focal length number.
Here's why: a 35mm lens on full-frame can give you similar isolation to your 80mm 6x6 medium format, depending on your working distance and aperture. The field of view is wider, but the optical result, the way the background renders, the way your subject separates, can be close. Your job is finding that match, then trusting it with the other variables.
Matching the Feel: Depth of Field and Aperture
It's not just about letting light in. When you shot that f/2.8 aperture on your 80mm Hasselblad, you got a specific amount of subject isolation. A certain depth of field that separated your subject from the background in a particular way. At a typical portrait distance, f/2.8 on an 80mm medium format lens creates shallow depth of field and beautiful separation.
To recreate that isolation on full-frame, you can't just use f/2.8. The sensor is smaller relative to the focal length, so you need a wider aperture to achieve the same optical effect. On full-frame, you'd need roughly an f/1.2 to f/1.4 aperture in the equivalent focal length to get the same depth of field and subject separation at the same working distance.
This is one reason why matching film medium format to digital usually means stepping up to faster apertures than you might expect. You're not just chasing light. You're chasing that particular quality of subject isolation and background separation you had with film.
What this means for you: Don't think of aperture as just a light control. Think of it as a rendering tool. The wider aperture you need to match film depth of field is what creates that film-like optical character at working apertures.
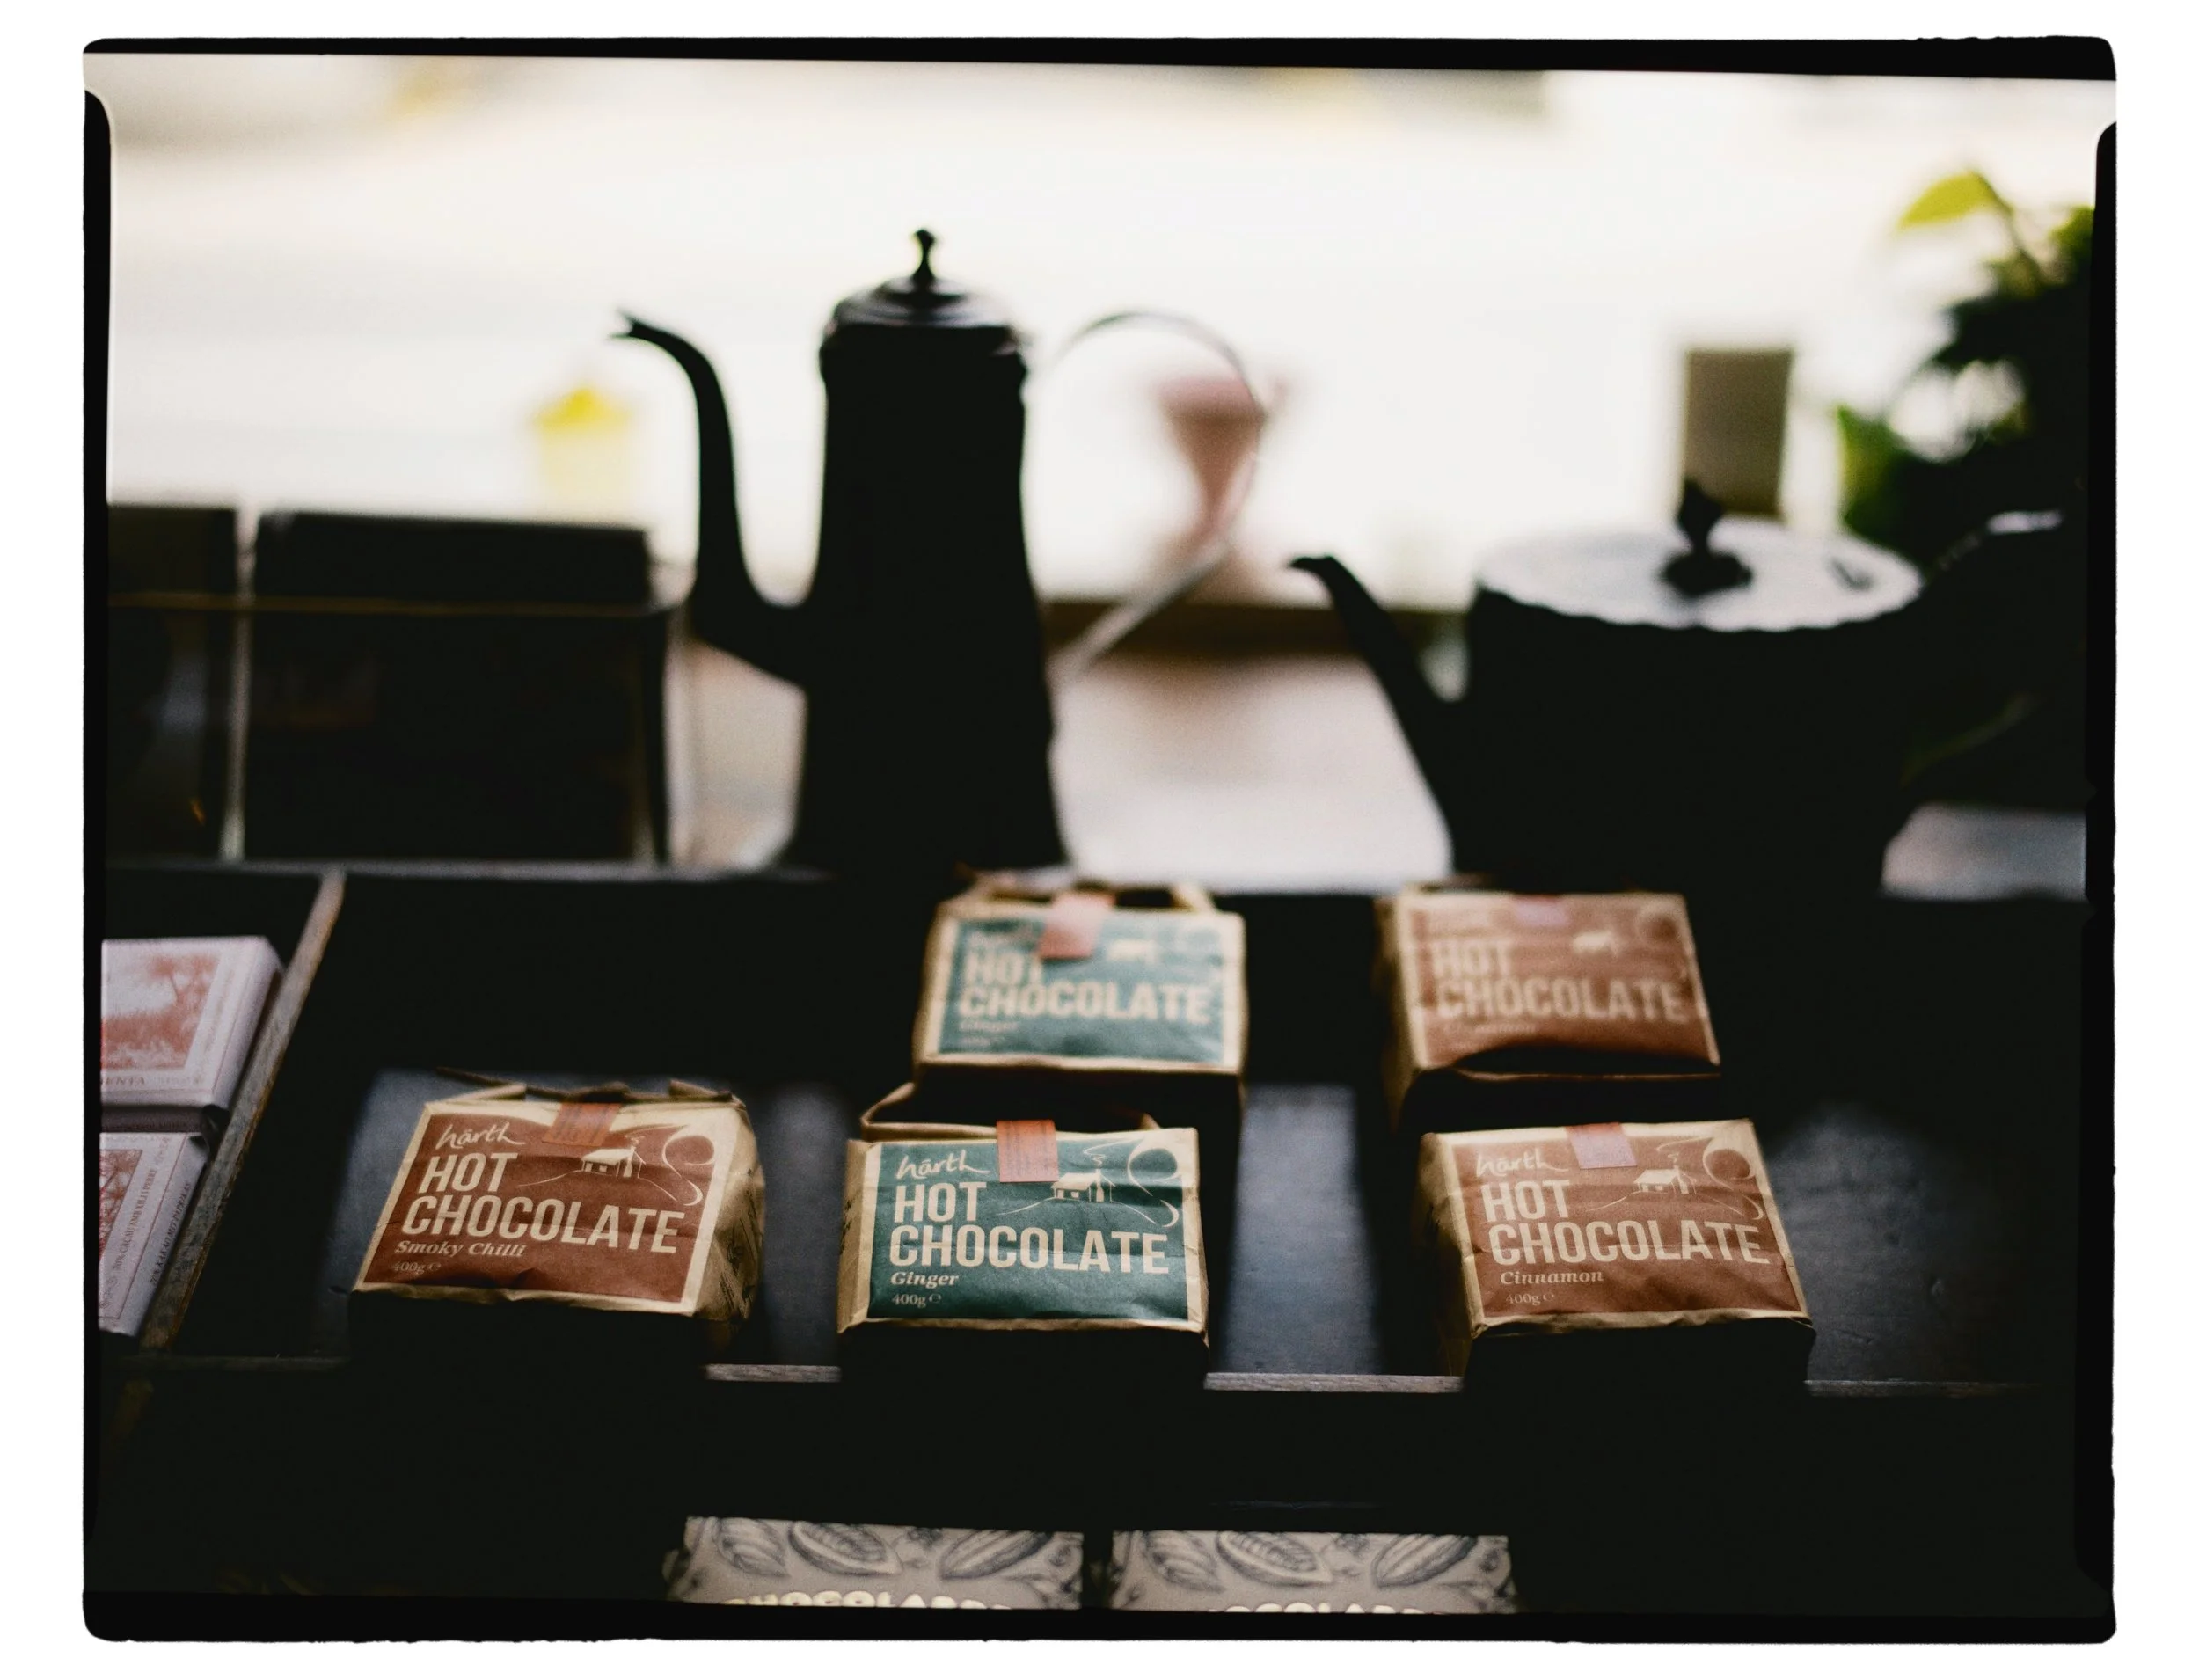
Atkinsons Coffee Roasters Lancaster - Voigtlander 40mm 1.2 Nikon Z Mount by Tom Wright
Matching the Feel: Aspect Ratio and Field of View
Frame shape forces you to make compositional choices. When you shot square on a Hasselblad (6x6), you composed in a square. Your subject placement, negative space, balance, all of it was shaped by that 1:1 proportion.
Switch to a taller, narrower format like Contax 645 (4:3), and you'd frame everything to fit the different shape.
Full-frame digital is 3:2. That's wider than almost any medium format. When you shoot on full frame, you get significantly more horizontal space than you had on 645, 67, or square.
An 80mm on 6x6 roughly translates to a 45mm on full-frame in terms of field of view and compression. But to match the framing you achieved on film you often need to go even wider: 35mm to 50mm depending on whether you shot 645, 67, or square.
Here's why that matters for lens choice: Lens choice gets you most of the way there. Careful cropping, either in-camera with aspect ratio overlays or in post-production, is how you fine-tune the framing to match the proportions you had on film. An 80mm lens on your 6x6 Hasselblad created a particular frame proportion. Shoot a 35mm on full-frame, then crop to square in post, and you recreate that proportional balance.
Use this calculator as your baseline. Then test just above and below the focal length it recommends. Trust what feels right. You're not looking for a perfect mathematical match. You're looking for the point where the composition feels balanced again.
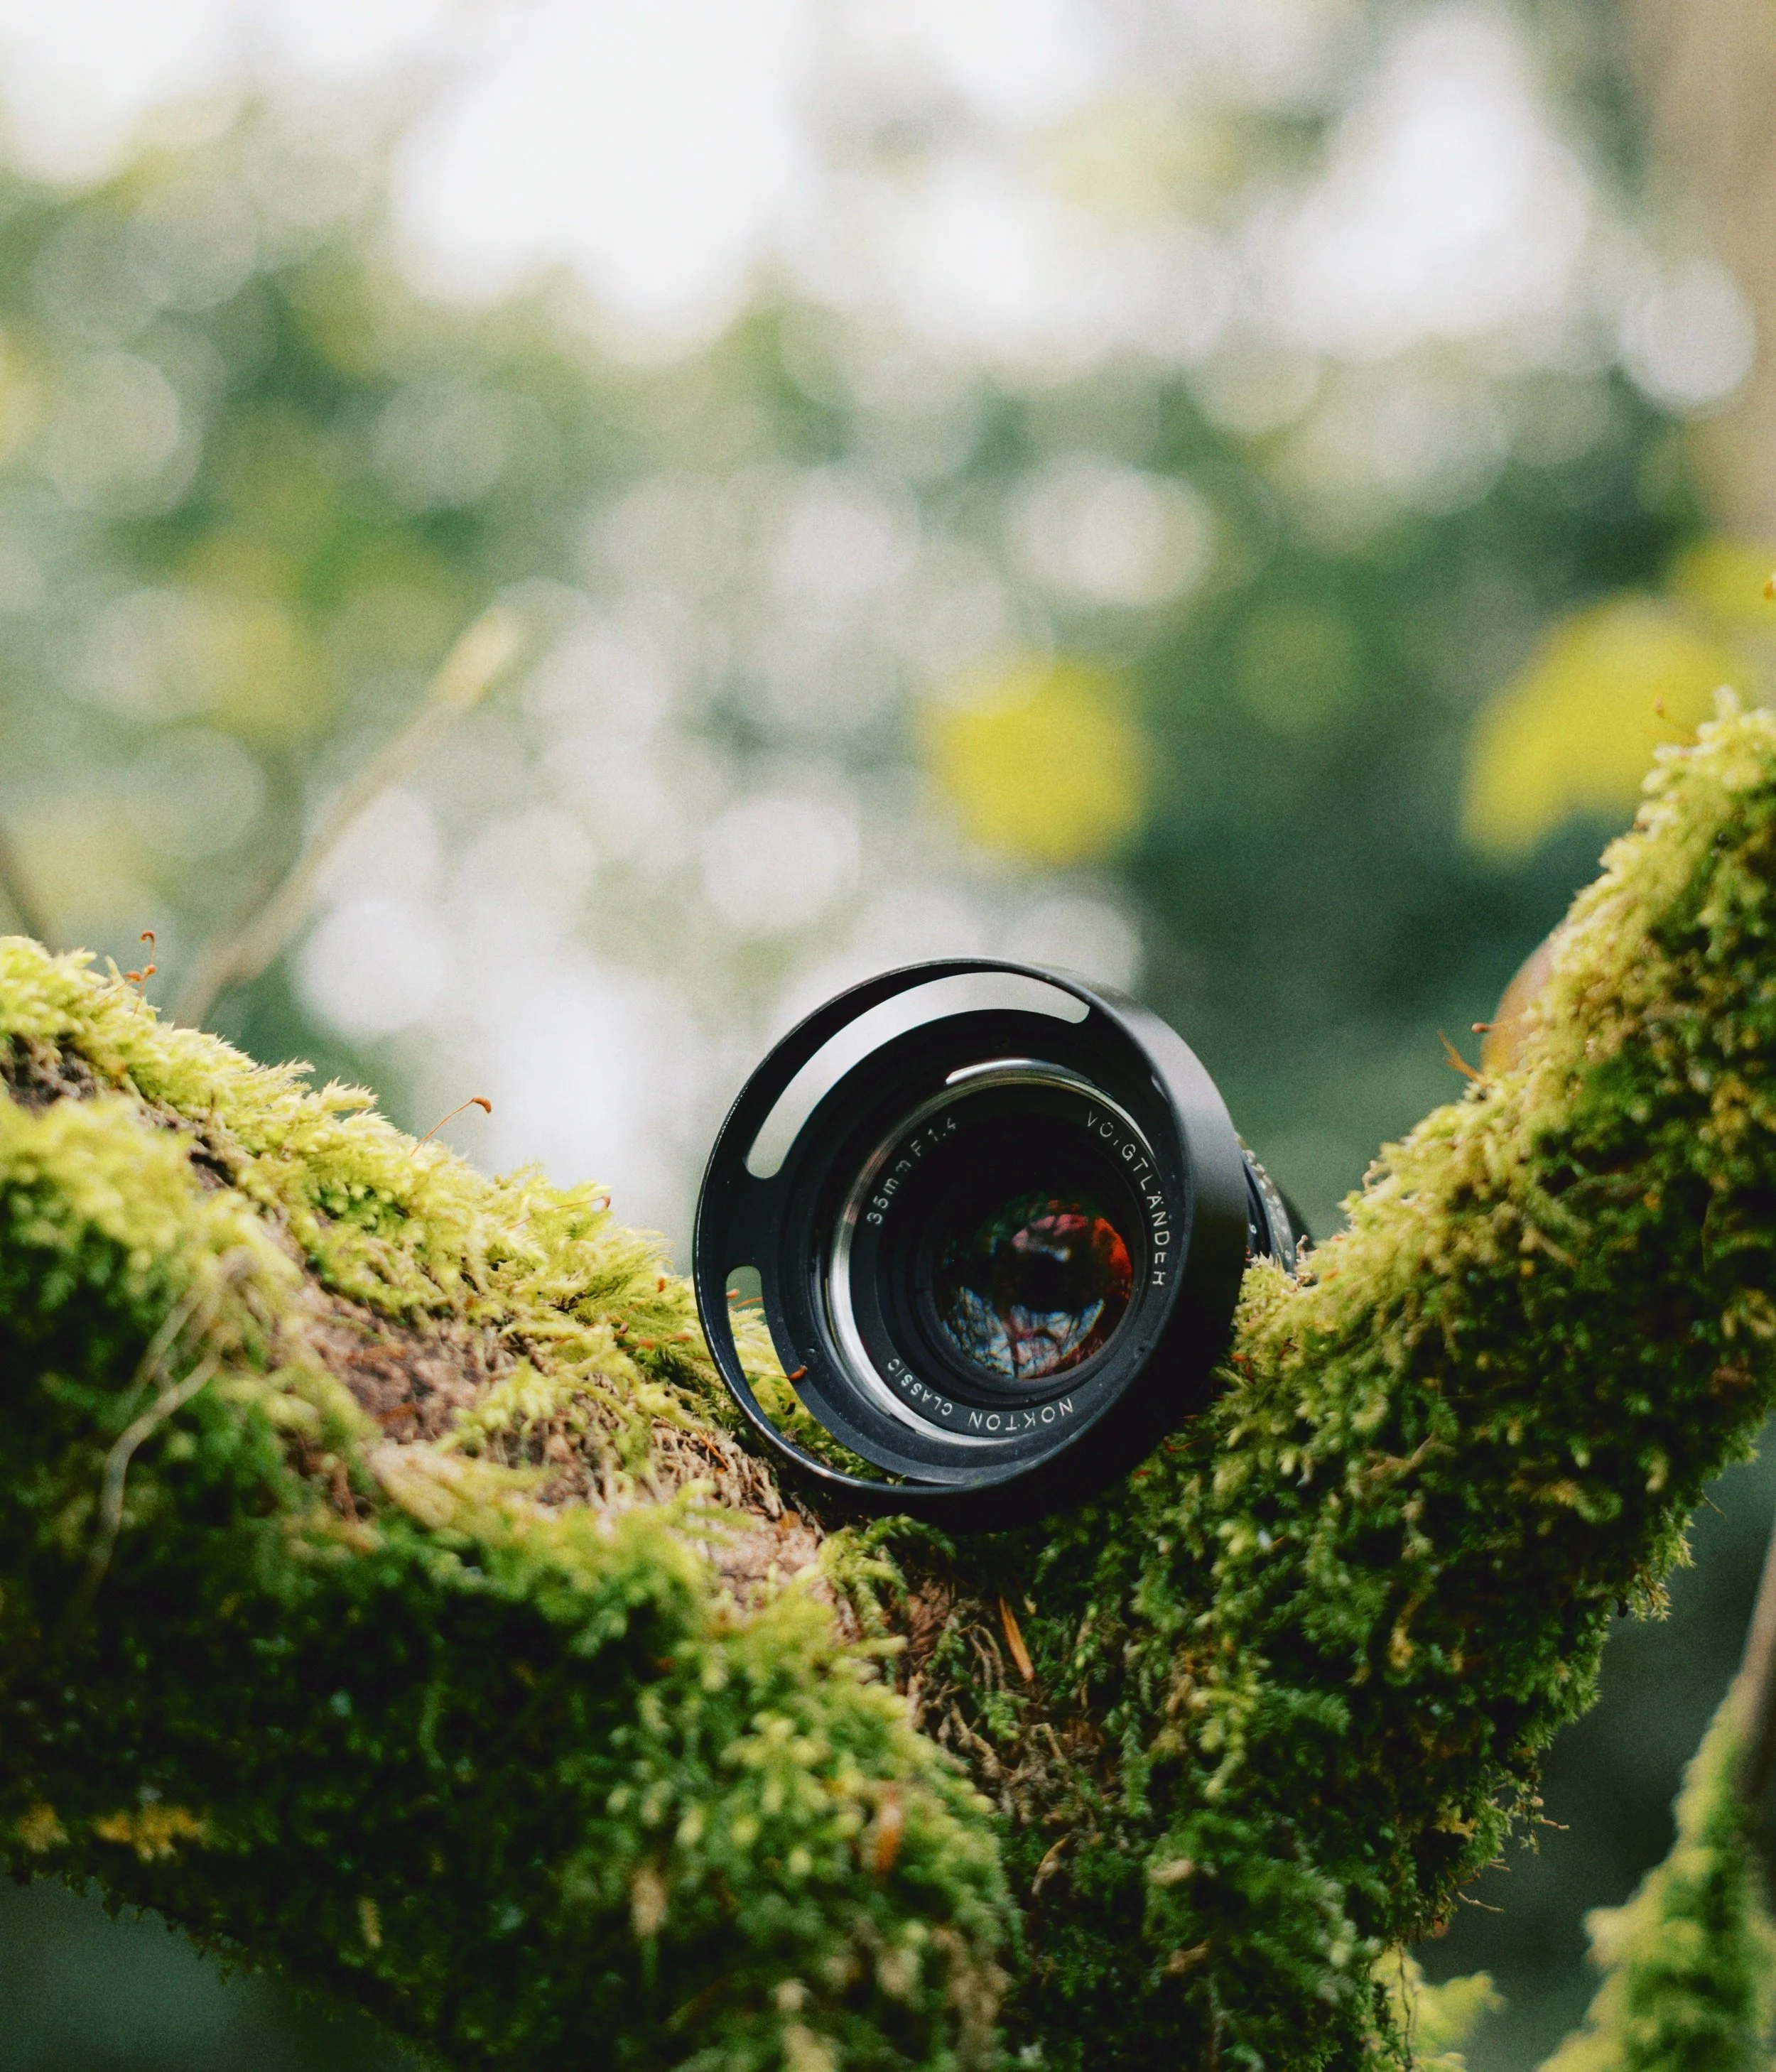
Voigtlander 35mm 1.4 MC
Lens Calculator
Find What You Need
Digital Film Stock: Matching the Color Palette
You've now matched your lens rendering and framed your shot. Your digital images have more character, texture, and dimension. But something's still missing: color palette. On film, that came from three things working together: your film stock choice, how you exposed it, and how the lab scanned the film.
Most film photographers now shoot Kodak films. Portra 400 and Kodak Gold are the standards. Portra renders warm, flattering, with gentle contrast. Gold is punchier, more saturated, more nostalgic. But the film stock alone didn't create that look. It was the stock plus your exposure decisions plus how the lab scanned it. Those three things together created your color palette.
On digital, you can't change your film stock or send your files to a lab. But you can replicate the visual result.
That's exactly what Color Therapy is designed to do. We work through which film aesthetic you're drawn to, what that means for your exposure and tone choices, and how to apply those decisions systematically in Lightroom. You've already chosen your lens and framed your shot. Once you're in Lightroom cropping your image to match the aspect ratio you remember from film, you're already in the workspace where we'll build your color system. Same environment. Next step.
Here's what you should know: lens rendering and framing get you most of the way there. But color palette is what closes the gap between "good digital image" and "my digital work." Lens choice, framing, and color system together equal the film look you're after.
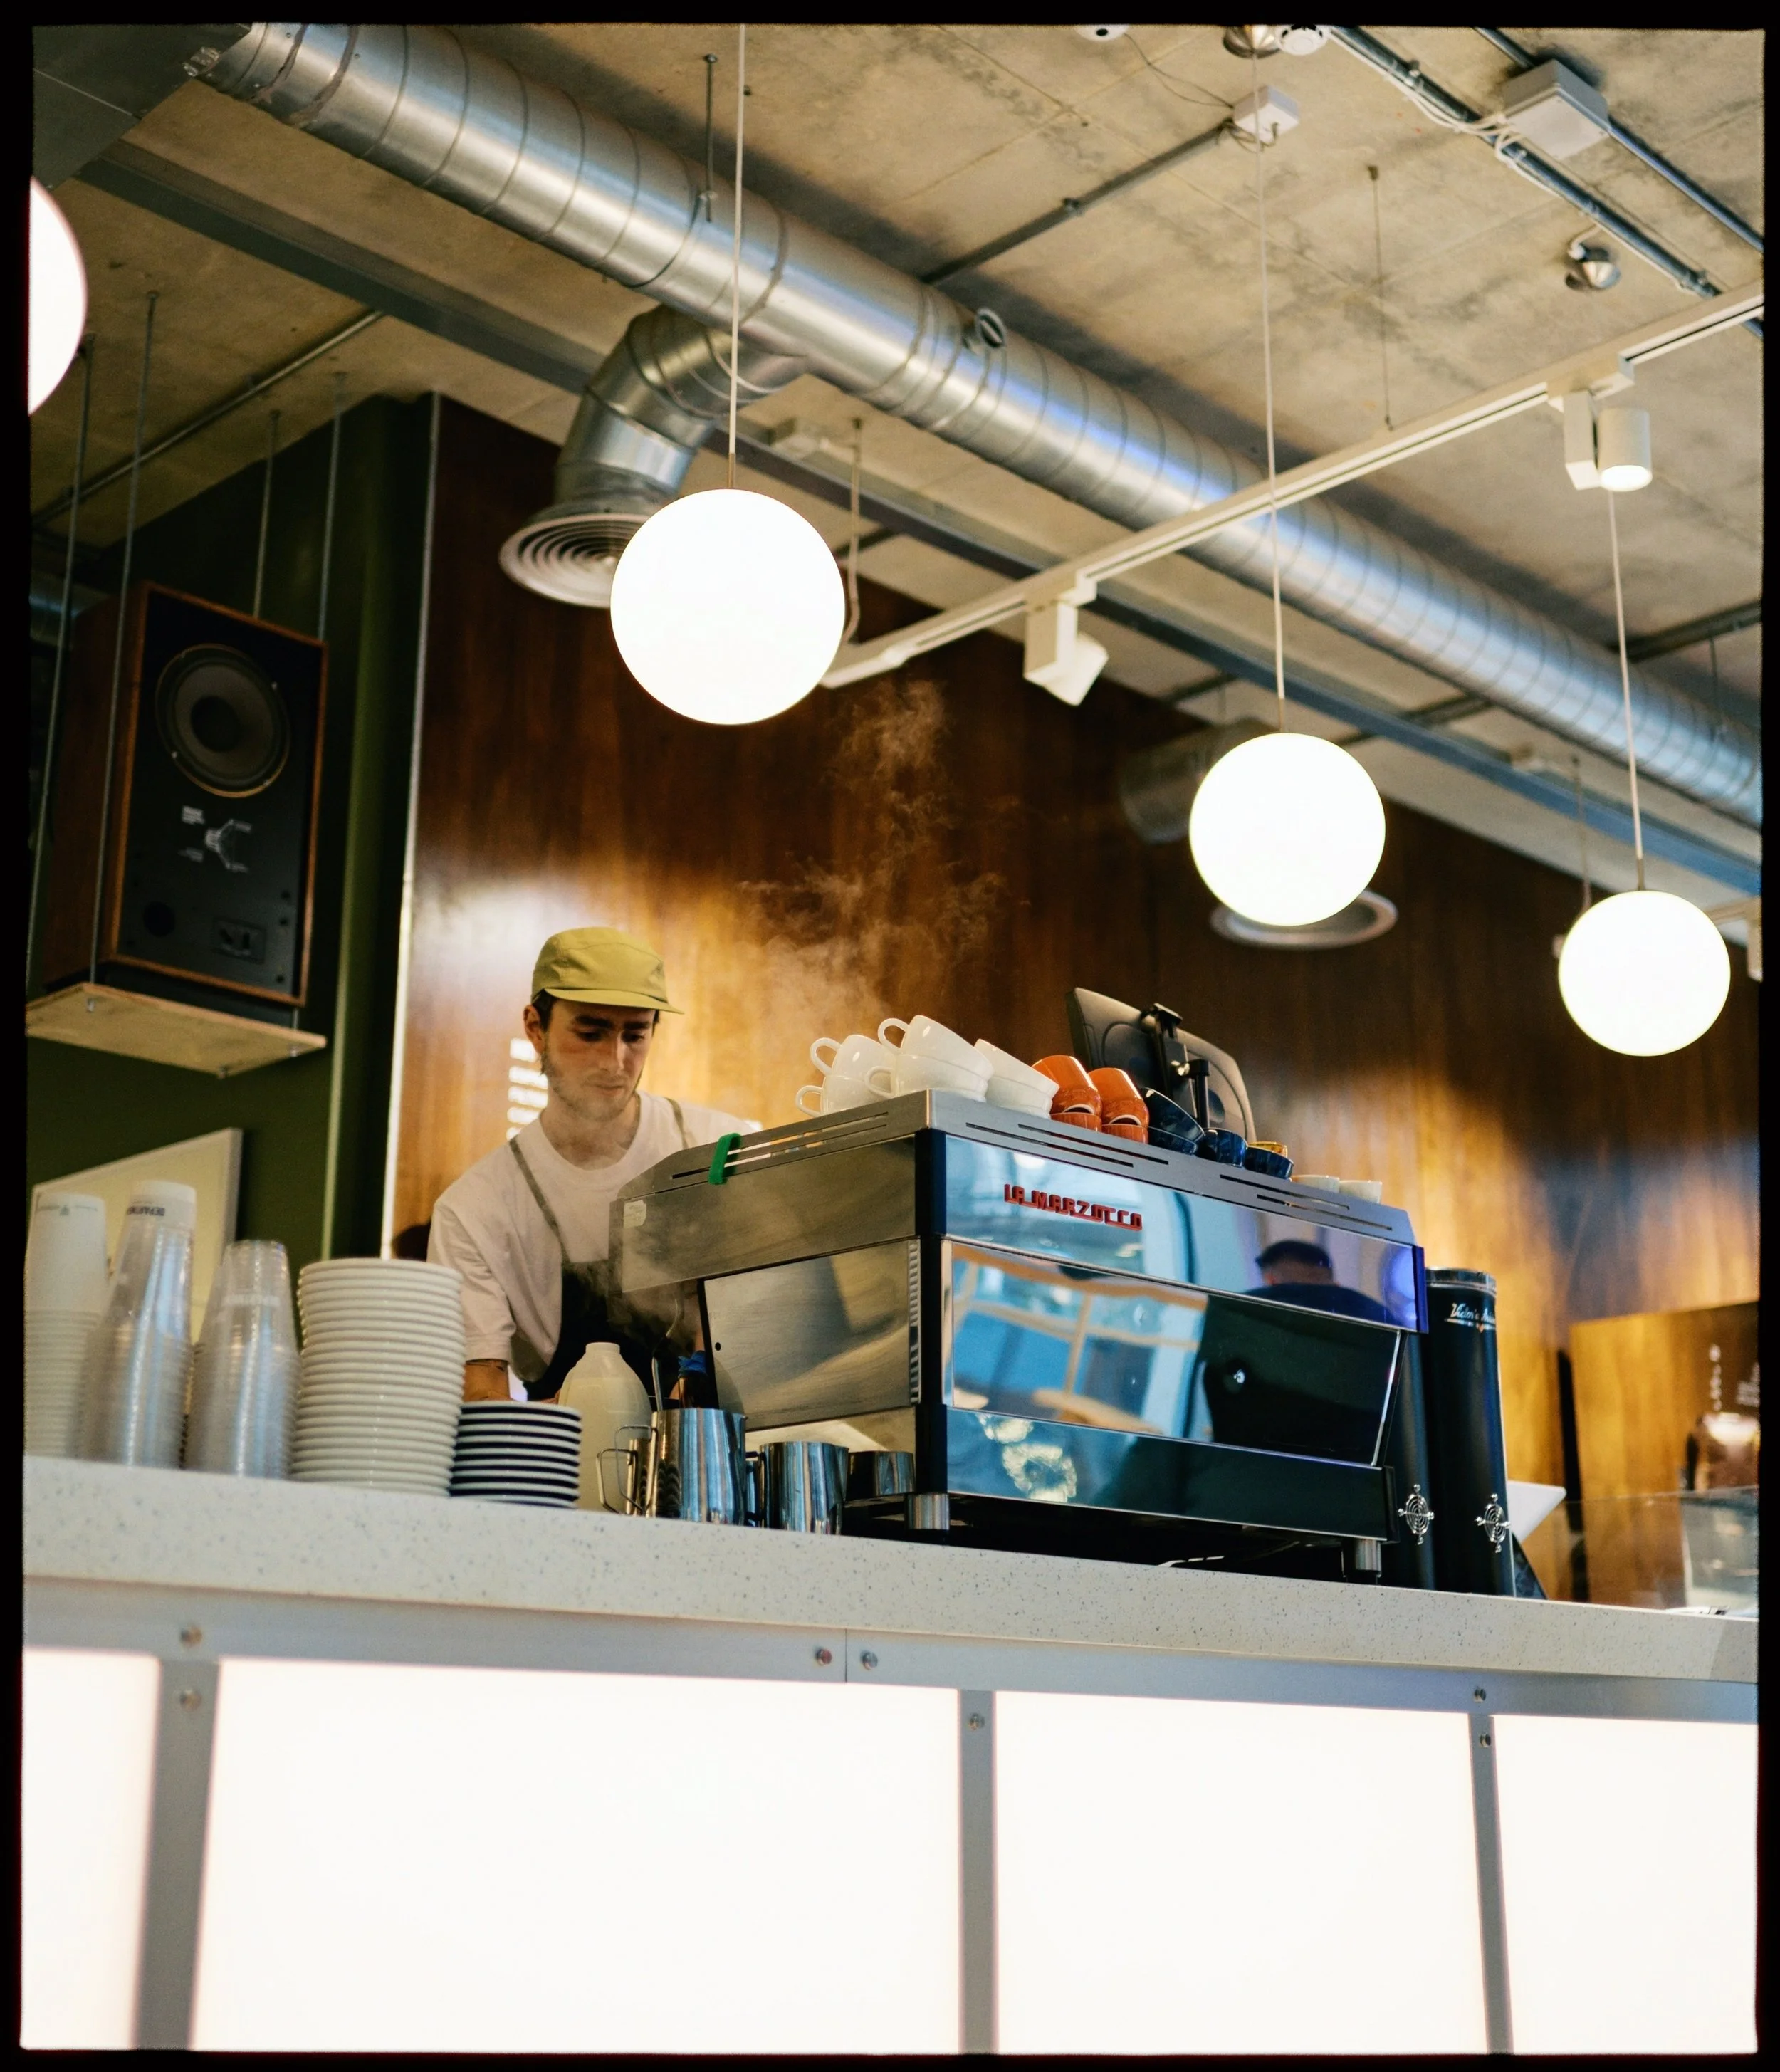
Department Coffee Manchester - Nikon 35mm 1.4 Z on the Nikon Z6iii by Tom Wright
Recommended Lenses
The sections that follow are a guide to building a lens kit that recreates the look and feel of film photography on digital. Whether you shot 35mm or medium format, you'll find specific recommendations grounded in the framework you've just learned.
For 35mm photographers, the advantage is straightforward: the lenses you remember using still exist. Rather than explain how to find them, we're building reviews of specific 35mm lenses that embodied the film era's optical character. Start with the lens you recognize, read the review, and source it secondhand. The reviews are coming as time permits.
For medium format photographers, we've curated three specific modern lenses that recreate the optical character and compression of three iconic film camera setups. These recommendations are your starting point.
Matching 35mm Film on Digital
35mm film cameras were the standard. That means the lens ecosystem is enormous. Every major manufacturer built dozens of 35mm primes designed specifically for film photography. Canon, Nikon, Zeiss, Voigtländer, Leica. Decades of design iteration. Millions of lenses made and sold.
These lenses are widely available on the used market, relatively affordable, and they work on modern mirrorless bodies with adapters. We are also seeing camera makers building budget lenses using premium lens designs from their DSLR days directly into their native mounts that intentionally use vintage optical designs. New glass with character, amazing autofocus no adaptering needed.
Rather than recommend a single set of 35mm lenses (the combinations are too varied to prescribe), we're building detailed reviews of specific lenses. Each review covers the optical character, how it renders at working apertures, and exactly how to use it on modern bodies. Start with the lens you're curious about. Read the review. See if it matches what you're after. Then decide whether you're hunting the used market or buying new native glass.
Choosing a Lens System
Canon RF
Canon's RF mount launched in 2018 with the EOS R. The native RF ecosystem is growing, but only a handful of lenses deliver genuine vintage optical character. Three stand out: the RF 45mm f/1.2 STM, The RF 28-70 F2.0 L and the RF 50mm f/1.8 STM. All three lenses optical designs that prioritise character over clinical perfection. They render with intentionality rather than technical neutrality. The RF 28-70 F2.0 while not vintage matches really well with film cameras and provides massive flexibility.
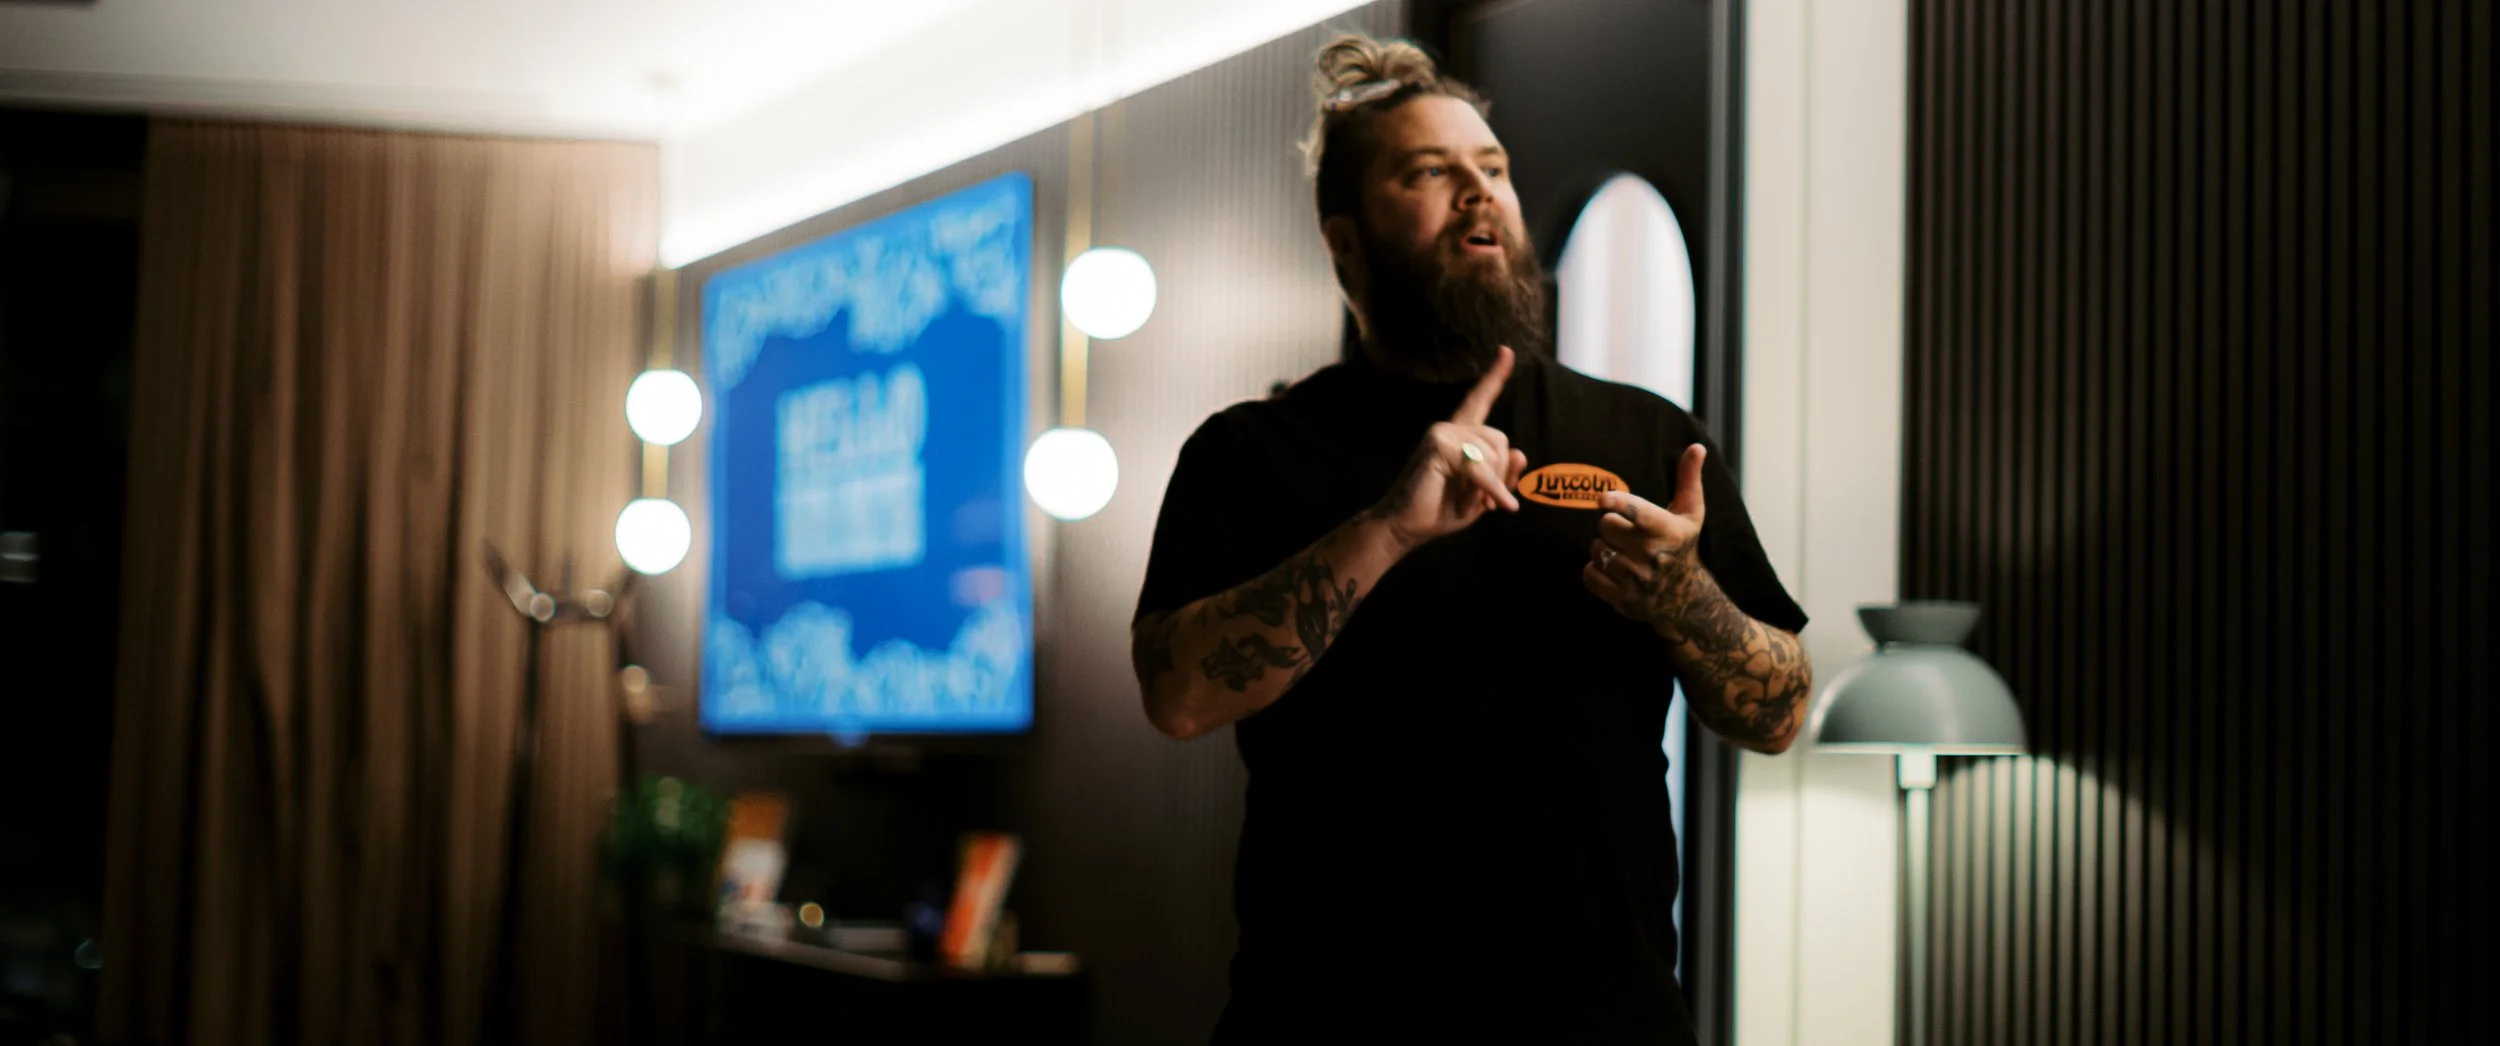
James Martin at Webflow Conference - Canon EF 50mm 1.2 L on Canon R6ii by Tom Wright
Canon EF
Canon's EF mount lasted from 1987 until they switched to RF in 2018. That's three decades of glass designed for film and digital SLRs. The ecosystem is enormous. If you're shooting Canon RF, these lenses work natively with Canons own EF to RF adapter. Autofocus works almost as well as a native lens out of the box. You're simply reaching back into Canon's own catalogue. Canon EF glass also adapts to other mirrorless systems, though compatibility is best when paired with Canon's first-party RF bodies.
Nikon Z
Nikon's Z mount arrived in 2018 and until recently Nikon was focused on providing the best possible modern performance in their lenses. More recently though they have launched two lenses that deliver genuine vintage character. The Nikkor Z 35mm f/1.4 and the Nikkor Z 50mm f/1.4 both have the kind of optical personality you get from film-era designs, work natively with full autofocus and Nikon's industry-leading subject tracking. The broader Z ecosystem prioritises technical perfection, so these two would be my first native lens choices (although both the Nikkor 28mm F2.8 and Nikkor 40mm F2.0 are excellent designs). The real advantage: you can also use Nikon's entire F-mount catalogue (1959–2018) via the FTZ adapter. G-generation lenses and newer get full autofocus performance with modern tracking speed. This gives you flexibility alongside these two character lenses.
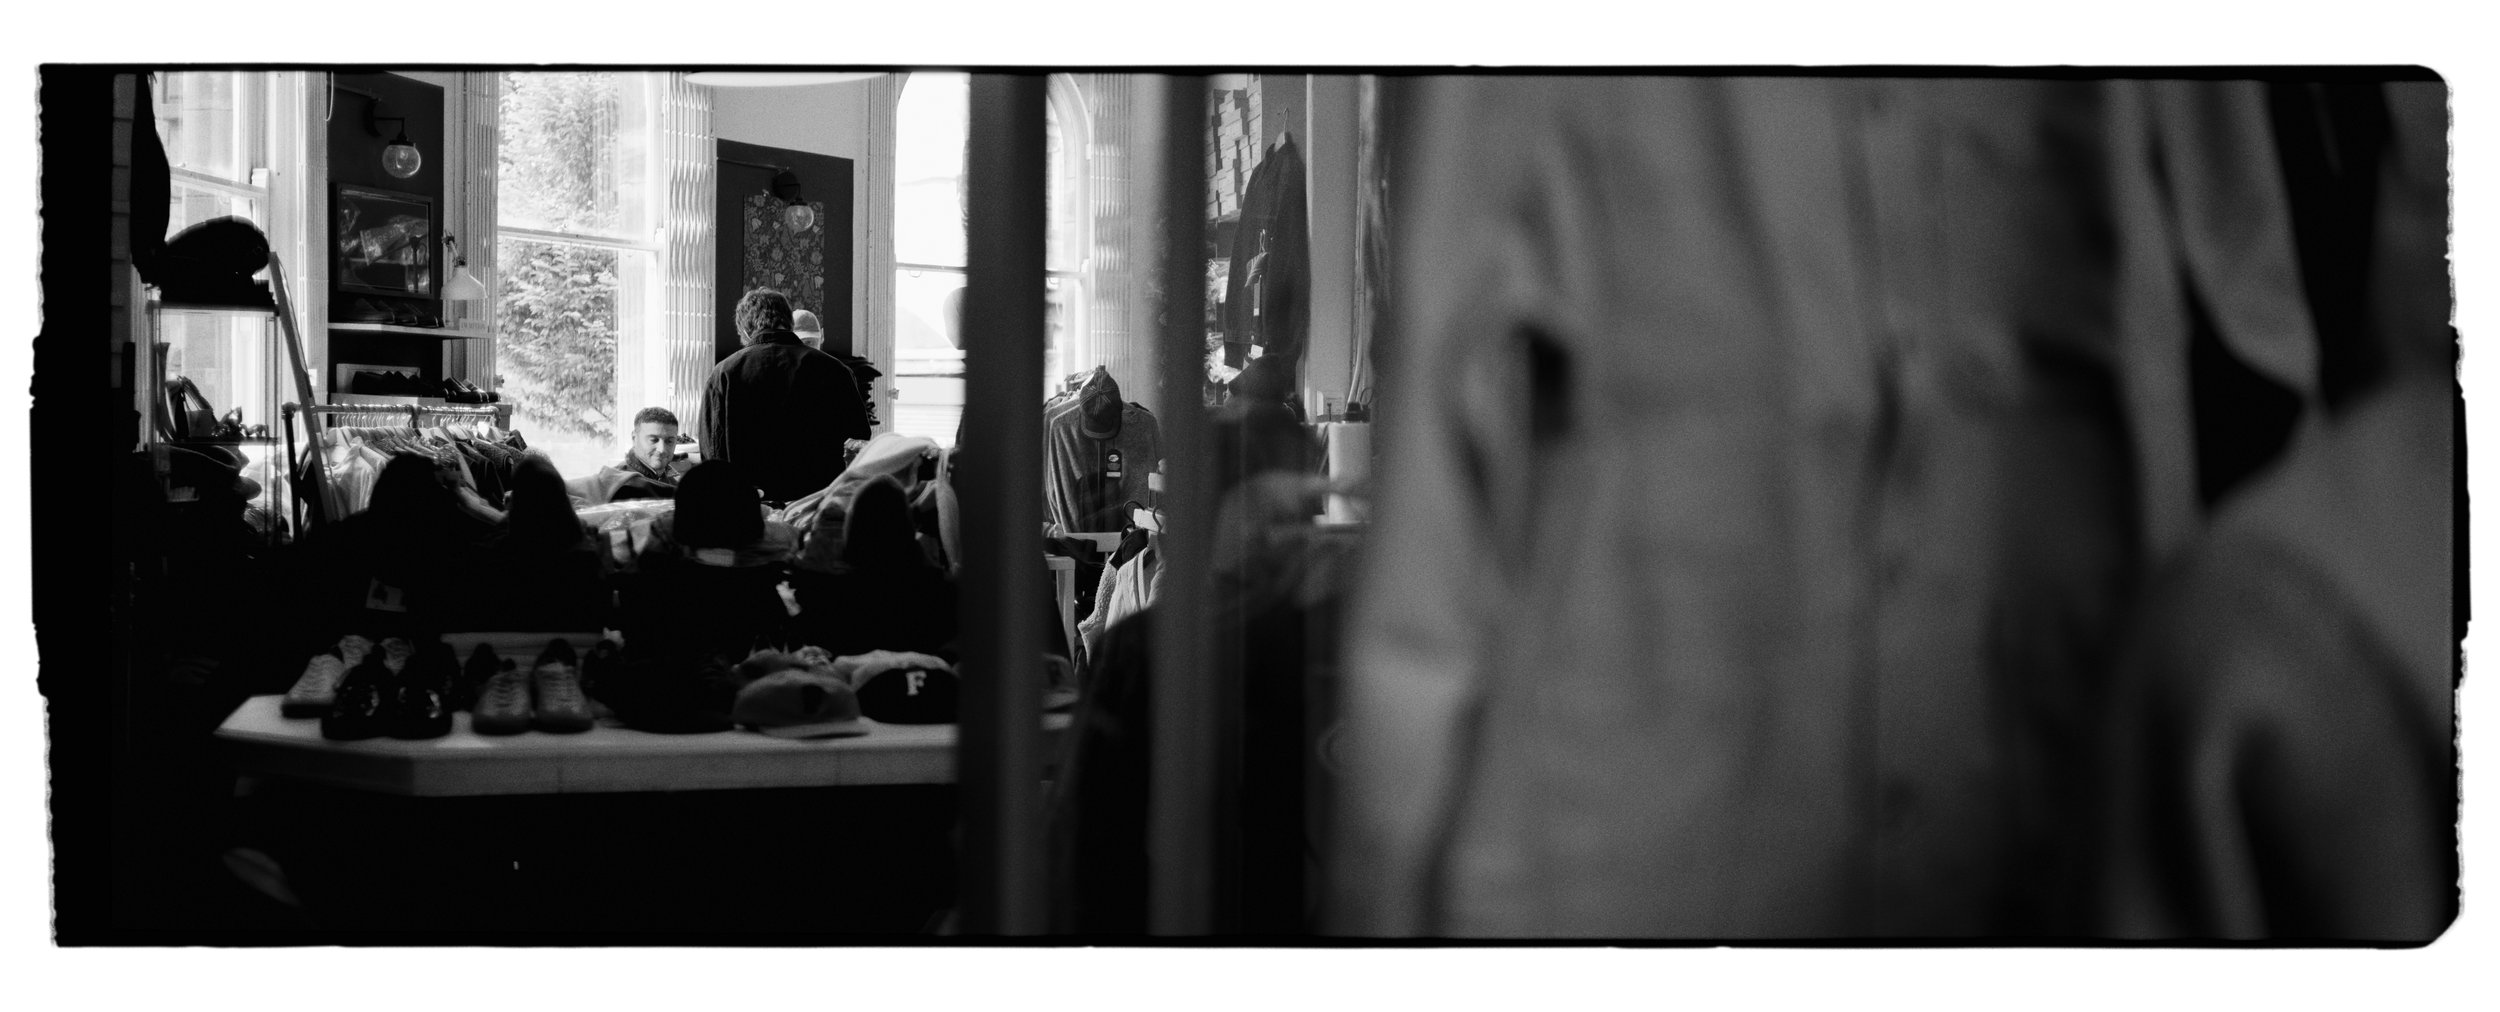
Vintage Nikon 35mm 1.4 z on Nikon Zf by Tom Wright
Nikon F
Nikon's F mount ran from 1959 to 2018. All F-mount lenses mount on Nikon Z bodies via the FTZ adapter. G generation lenses and newer get full autofocus performance, with modern tracking and phase-detection speed that matches native mirrorless glass. Earlier lenses require manual focus, which is reliable and predictable on these mechanical designs. Nikon F glass also adapts to other mirrorless systems, though compatibility is strongest with Nikon's Z bodies.
Leica M
Leica M mount glass from the film era works on any mirrorless system via inexpensive adapters (M-to-E, M-to-Z, M-to-RF). Voigtländer, Zeiss, and Leica themselves made countless M-mount primes. Add autofocus with the Techart Pro adapter for Sony E and Nikon Z (No Canon RF support yet). This is the most flexible approach: buy one set of lenses and move them between systems as your camera body changes.
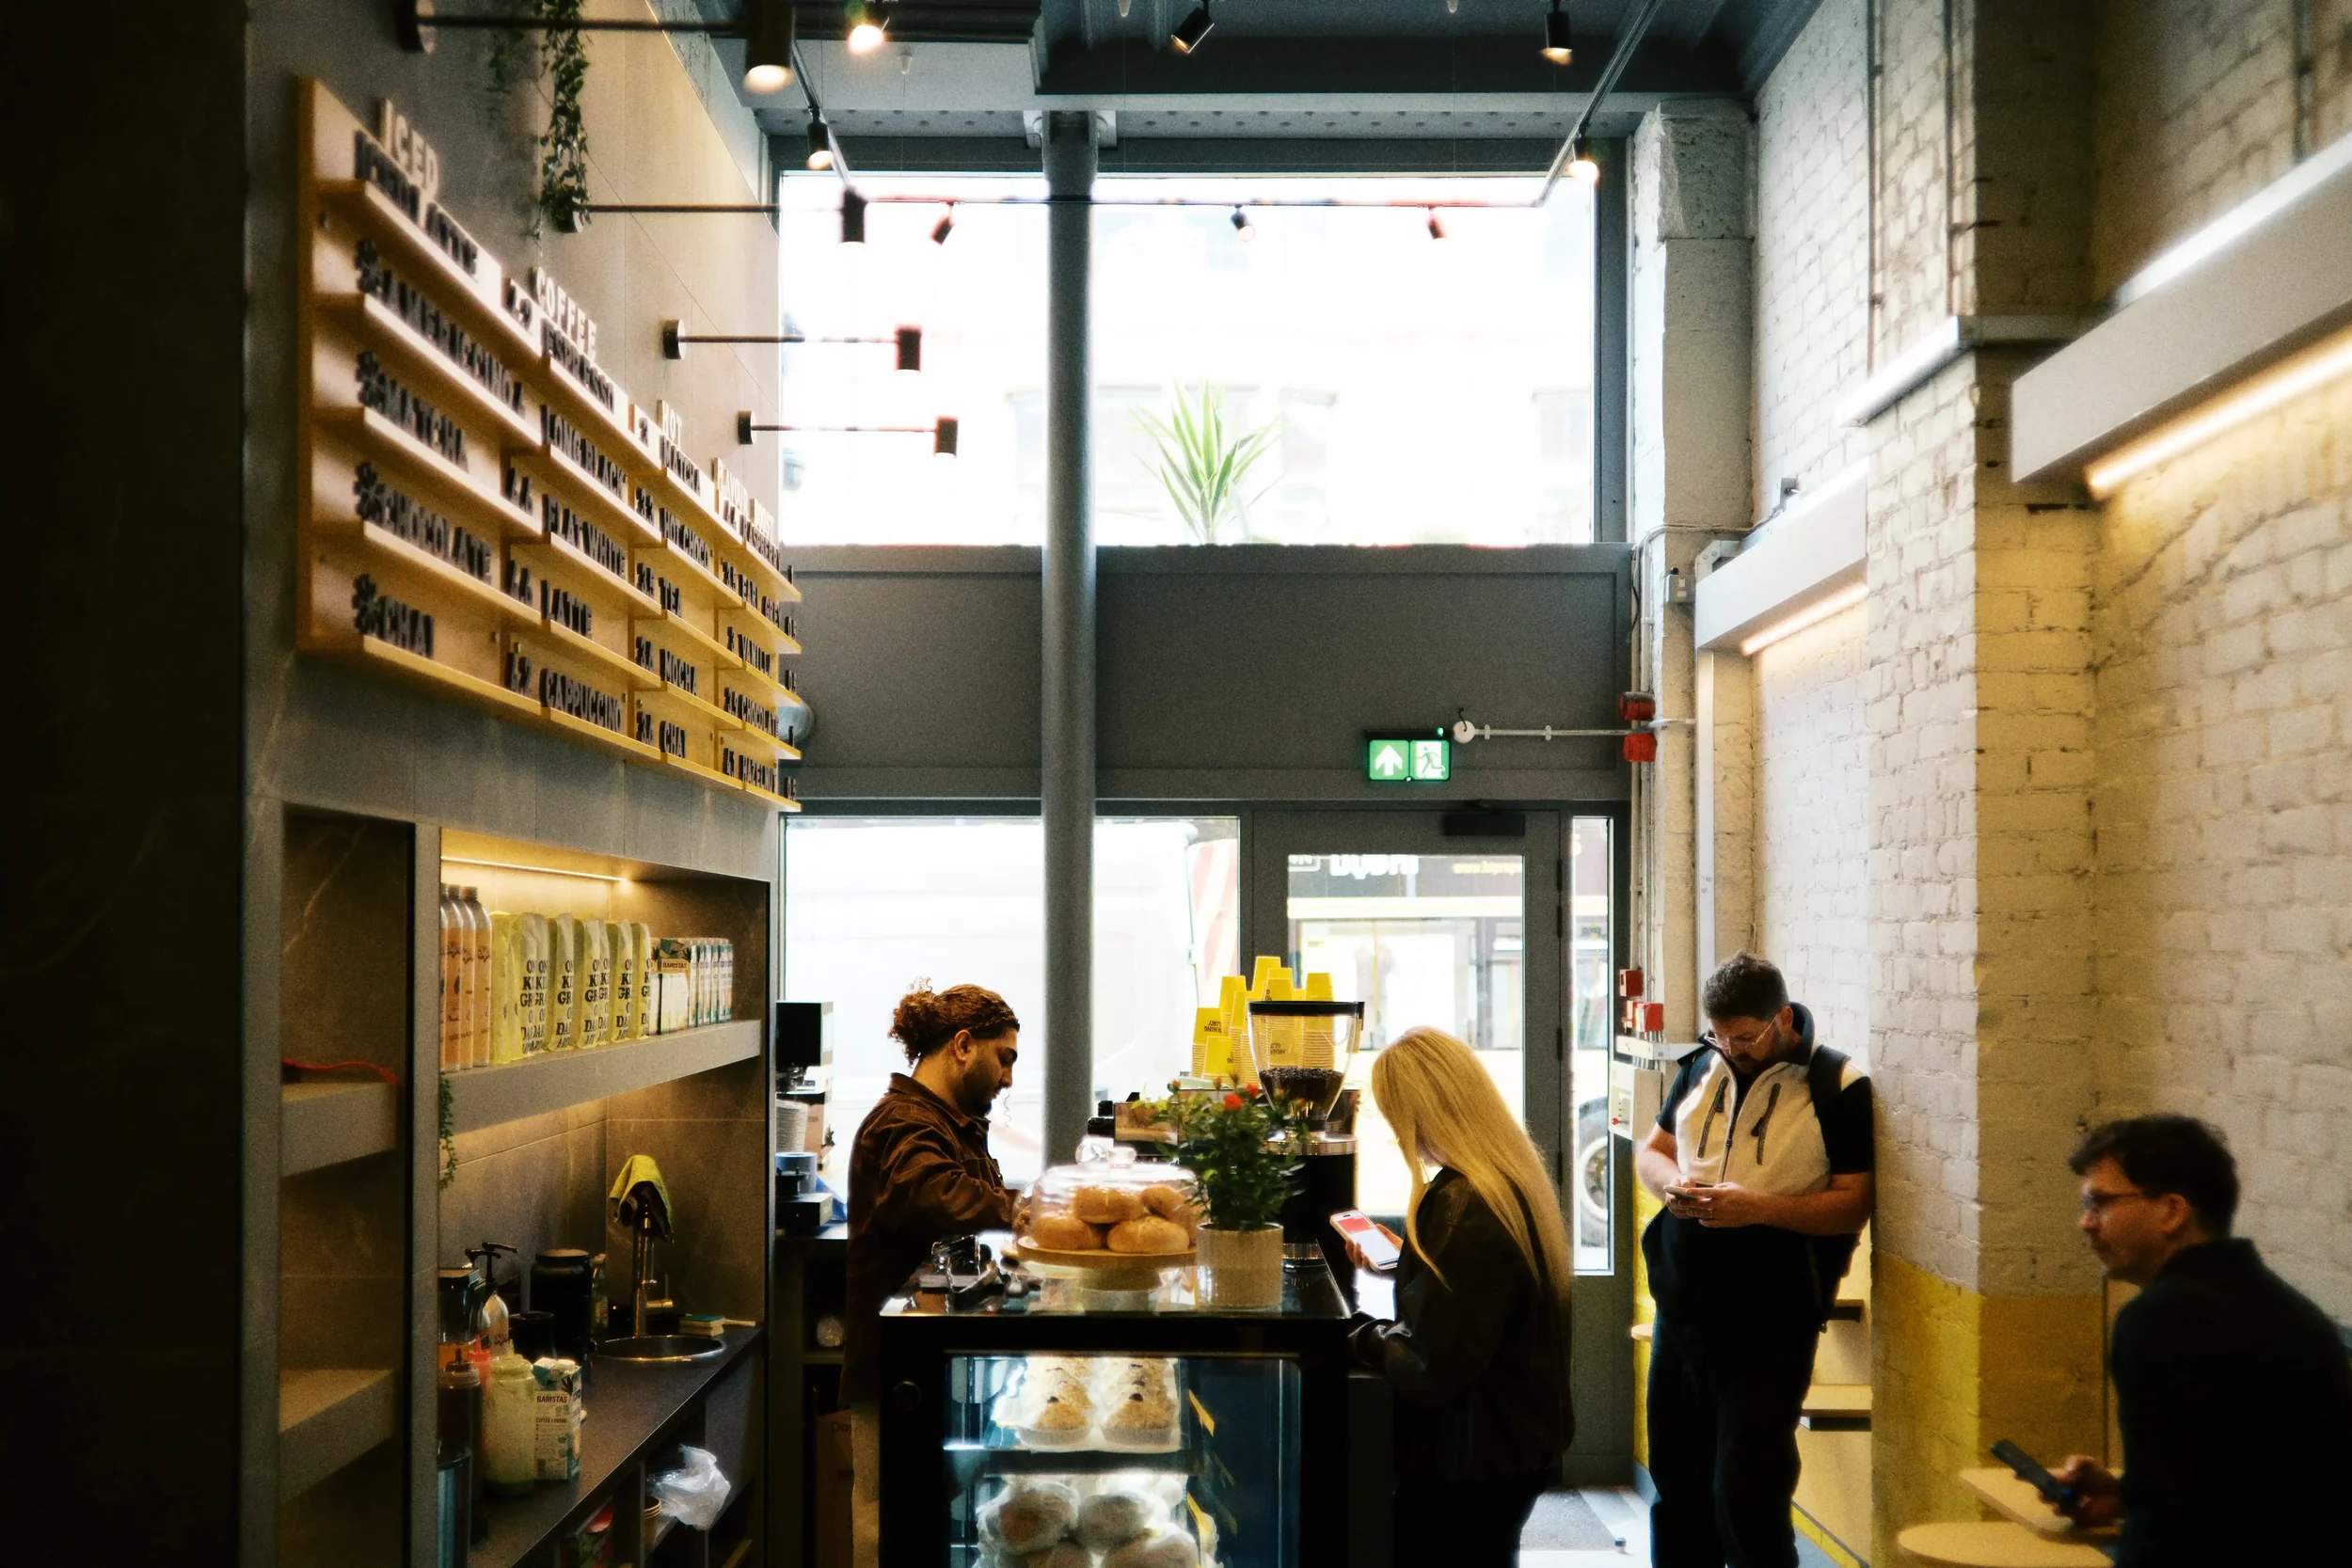
Morning Glory Coffee Manchester - Zeiss Biogon 35mm F2.0 ZM by Tom Wright
Sony E
Sony's E mount has been around since 2010, making it the oldest mirrorless mount. The native E-mount ecosystem is the largest of any mirrorless system, but if you’re looking for character I’d start with the Sony Zeiss FE 35mm f/1.4 Distagon T and the Sony Zeiss FE 50mm f/1.4 Planar T. Both use Zeiss's optical design philosophy, which prioritises rendering over technical neutrality. E-mount also adapts well to legacy glass from any system. Canon EF, Nikon F, and Leica M all work on E bodies with solid third-party adapter support. If you want maximum flexibility, E mount gives you the broadest options.
Adding Autofocus to Manual Focus Lenses
Many 35mm film lenses are manual focus only. Manual focus can feel right with these lenses. It slows you down. Makes you deliberate.
If you need autofocus, adapters like the Techart Pro can add basic contrast-detect autofocus to manual focus lenses. These work on Leica M glass on Sony E and Nikon Z bodies (No Canon RF support yet). The autofocus isn't fast or reliable by modern standards. It's slower and sometimes hesitant. But it makes manual focus lenses practical for faster-paced work without compromising the optical character of the glass.
Matching Medium Format Film on Digital
Emulating the Icons
The recommendations below recreate the look of three iconic medium format camera and lens combinations. Each represents a different approach to medium format photography, and each has a devoted following among film photographers.
The Contax 645 with its 80mm f/2.0 Planar. The Hasselblad 500CM with its 80mm f/2.8 Planar. The Pentax 67II with its 105mm f/2.4. These aren't arbitrary choices. They're the cameras and lenses that defined how medium format photography looked and felt for an entire generation.
On digital, these three lenses give you the same range of compression, isolation, and rendering character. They're your starting point.
| Film Camera | Original Lens | FF Equivalent | Recommended Digital Lens |
|---|---|---|---|
| Hasselblad 500 | 80mm f/2.8 | 35mm f/1.2 | Voigtländer 35mm f/1.2 Nokton Aspherical IV |
| Contax 645 | 80mm f/2 | 40mm f/1.2 | Voigtländer 40mm f/1.2 Nokton |
| Pentax 6×7 | 105mm f/2.4 | 50mm f/1.0 | Voigtländer 50mm f/1.0 Nokton |
Why These Lenses
We chose Voigtländer across the board because their design philosophy aligns with vintage medium format rendering. They preserve the optical qualities that gave film lenses their character: vignetting, field curvature, edge rendering. Modern lenses optimized for digital perfection are technically brilliant. But they don't feel like your film lenses.
The aperture story: These aren't the slowest lenses available at these focal lengths. The speed is intentional. An f/1.2 or f/1.0 aperture creates pronounced optical character. More spherical aberration, more bokeh depth, more of that "wide-open film look" at working apertures. At f/2.8 or f/4, they behave more clinically. You want the speed for the rendering, not just for light-gathering.
The mount question: The 35mm and 50mm Voigtländer lenses are available in Leica M mount. You can use these on any camera body with an M-to-E, M-to-Z, or M-to-RF adapter. The Techart Pro adapter (available for Nikon Z and Sony E) adds autofocus, making these lenses practical for professional work even though they're manual-focus designs. You get the rendering benefits of mechanical, intentional design with the convenience of AF when you need it.
The 40mm is available natively in all major mounts (Sony E, Nikon Z, Canon RF, Leica M), so no adapter needed.
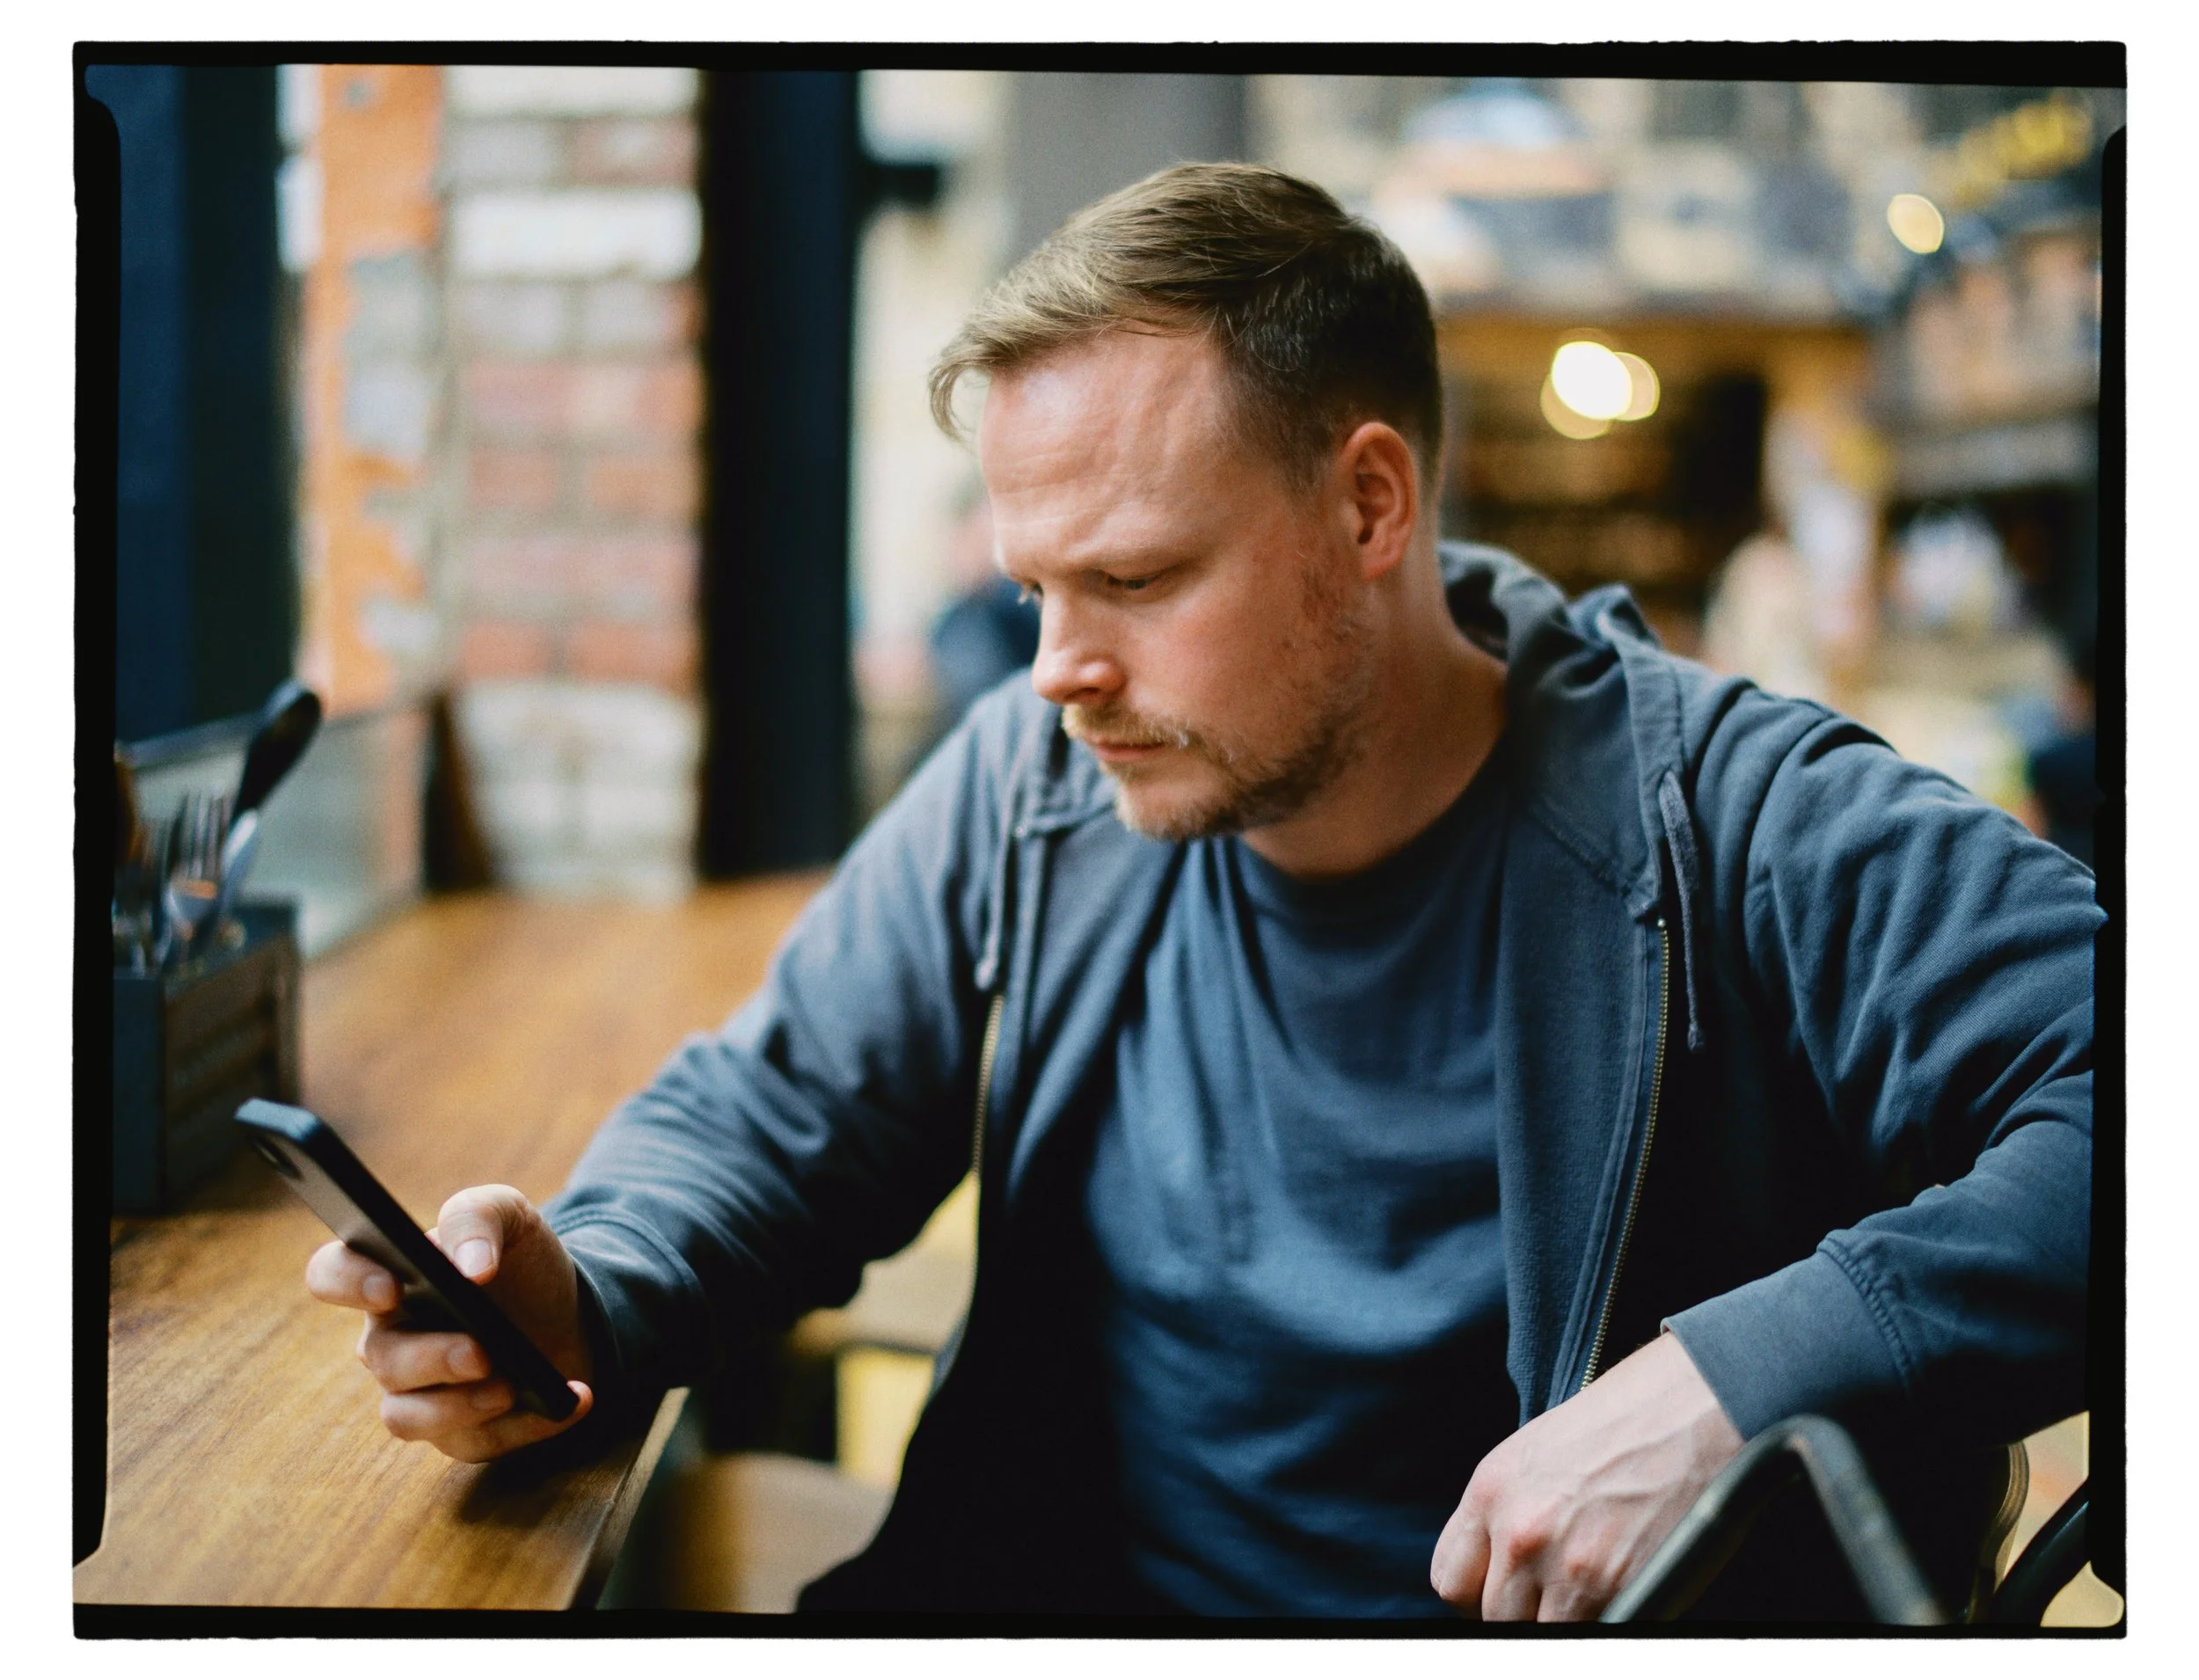
Adam Johnson Photography - Voigtlander 40mm 1.2 Z on Nikon Zf
Make it Your Own
Optical rendering gets you most of the way there. Color completes it.
Once you've got the lenses matched, the next step is building your color system. Define your visual voice and make it repeatable. That's where Color Therapy comes in. We work through what you actually want your images to feel like aesthetically, then build a Lightroom workflow that delivers that consistently.
If you're ready to build that system, book a Color Therapy consultation. We'll talk through your visual direction, show you how to build it, and get you set up with processes that work for your workflow.
Next Steps
Use the calculator at the top of the article to find equivalents to your film lenses.
Test them. Shoot. Get a feel for the rendering. See how it compares to what you remember from film.
Then define your color system. Once you've got the optical rendering dialed in, book a consultation to build the rest of your visual voice.
The film look you're after isn't out of reach on digital. It just requires understanding the three pieces that make it and being intentional about each one.
-
I’m Tom Wright, I’m like a therapist for your photography business.
I call it therapy because it’s about helping you work out obstacles. I help professional photographers overcome creative block, learn new skills, build systems, experiment with new mediums and provide support on an ongoing basis.If your backup system keeps you awake at night. You can't get over the latest bout of creative burnout. Or, you need to make a change to your style, you need a photo therapist.
I’m not a doctor. but you’ll feel better!